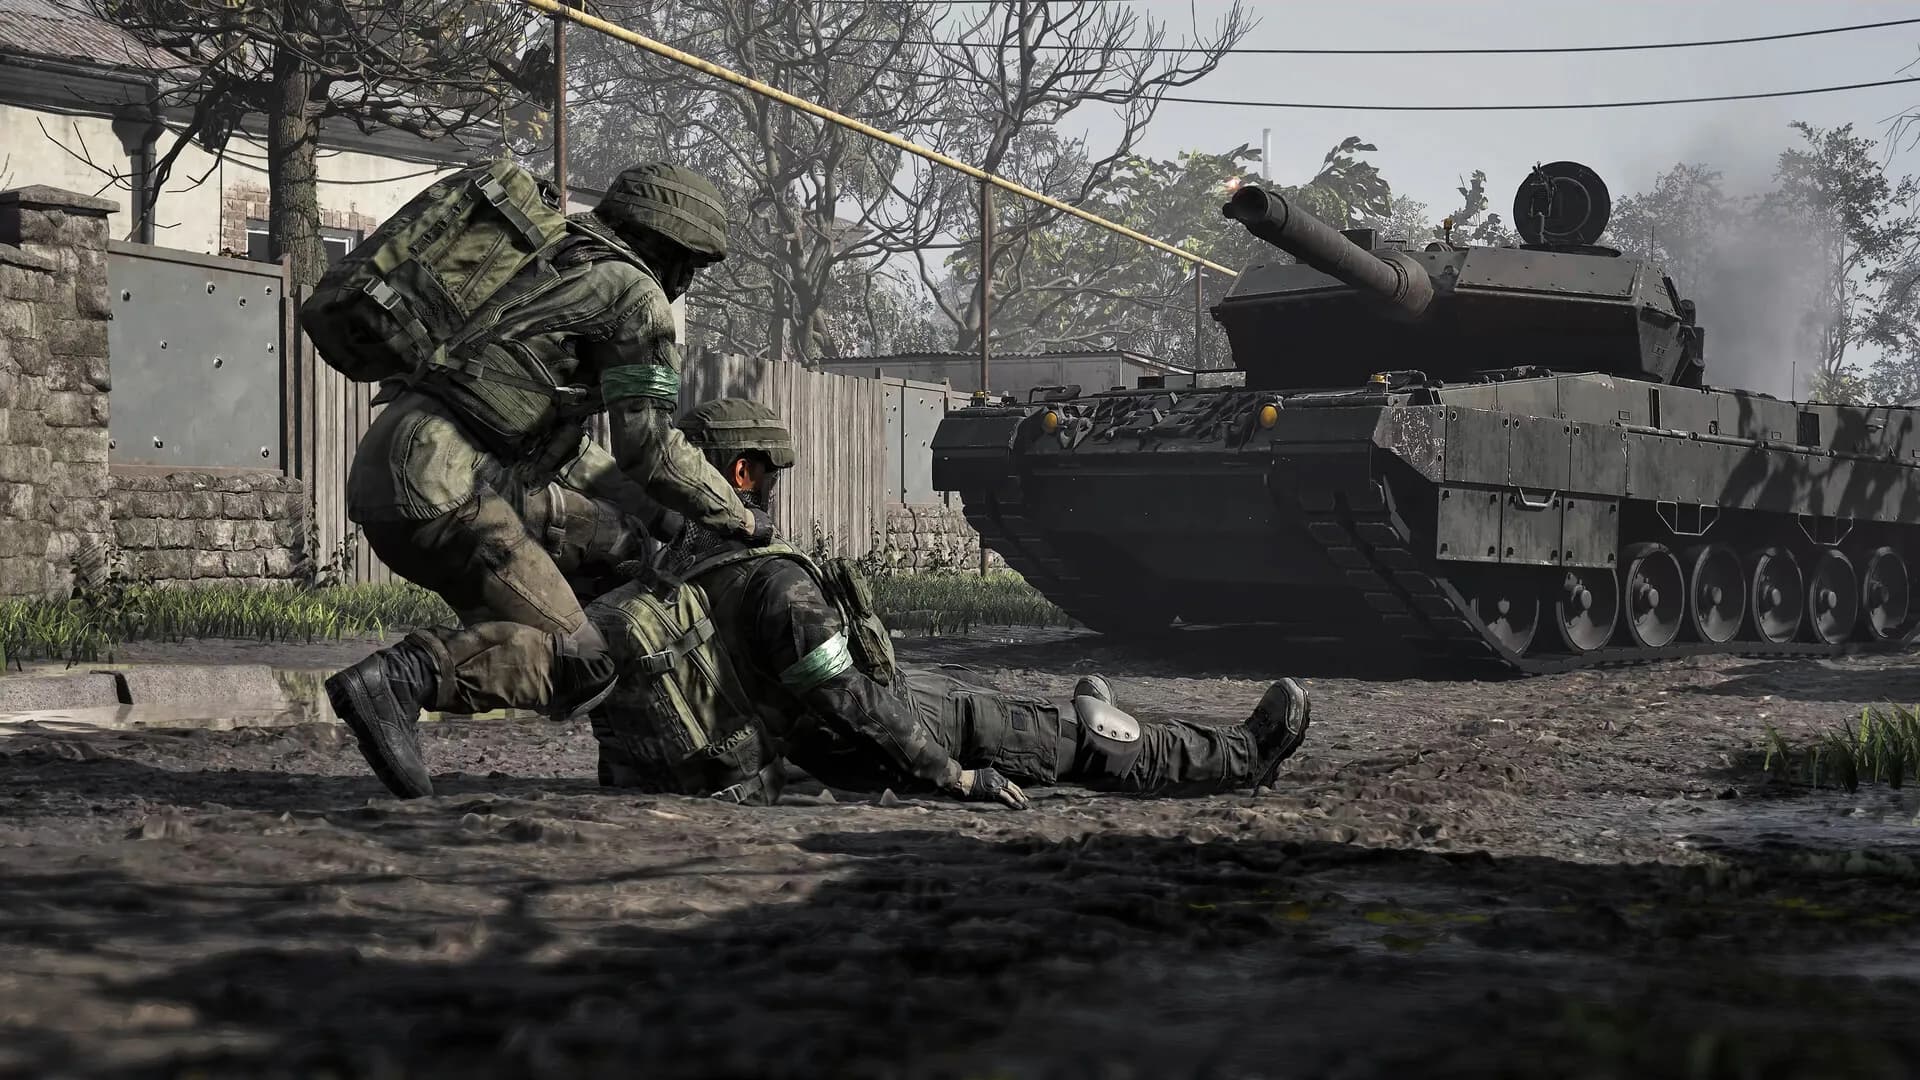
Halo's Legendary mode is a legend in itself, a rite of passage as cruel as it is rewarding. In Halo: Campaign Evolved, you have to face thirteen missions, the ten classics of Combat Evolved plus the three new Operation Meteorite levels, with shields twice as fragile and enemies twice as tough. This guide breaks down each mission one by one, with its threats, its ideal arsenal and its precise tactics, so you never die stupidly again. It's not about brute force, but about playing smart. For our full opinion on the remake, head to the Halo Campaign Evolved preview.
Before diving mission by mission, burn these principles into your mind. On Legendary, your shields only withstand half the usual damage, while the enemies' are doubled: a few plasma shots drain you, and your standard weapons struggle to pierce enemy defenses. The direct consequence is that the plasma-pistol combo becomes your best friend. Drain an Elite's shield with an overcharged plasma pistol shot, then instantly switch to the Magnum to plant a bullet in their head. That gesture, to repeat hundreds of times, is the key to the whole campaign. The assault rifle, meanwhile, is nearly useless against shielded Elites, save it for the Flood and Grunts.
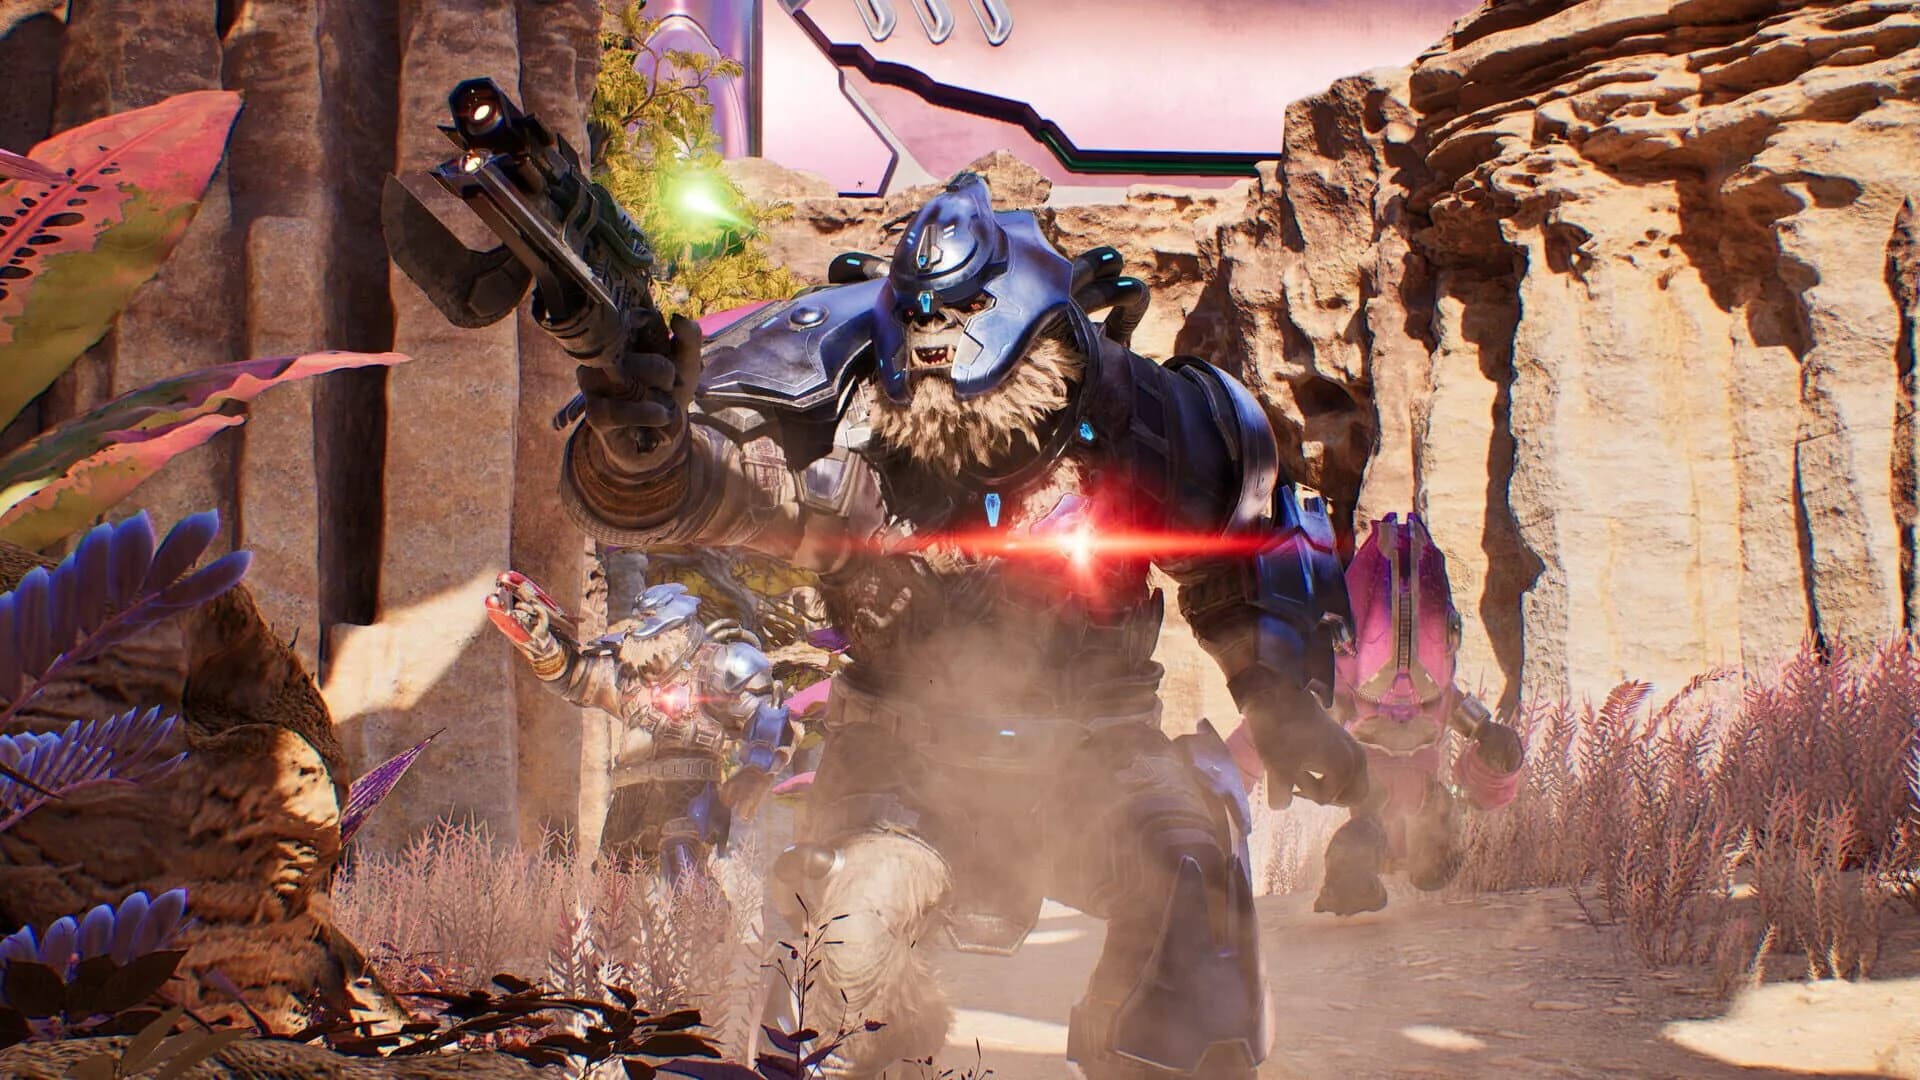
The other reflexes flow from the same principle: patience and smart positioning. Use cover constantly, retreat the moment your shields flash to let them recharge, and always prioritize Elites, because killing the leader often makes the Grunts flee. Grenades are vital: the plasma one to stick an Elite, the frag one in a group of Grunts, knowing they throw far more of them than on Normal. Rescue marines for support, put them on the Warthog's gun, and never hesitate to hijack a Banshee or a Ghost. The melee attack from behind kills instantly: the stealth assassination is an underrated weapon. A point specific to the remake: Campaign Evolved integrates weapons and enemies from later Halo games, with Brutes and an expanded arsenal including the Needle Rifle, Beam Rifle, Battle Rifle, Brute Plasma Rifle and Energy Sword. Some of these weapons open tactics the 2001 game didn't allow.
The first of the remake's three prequel missions, Boarding Action takes place a year before Combat Evolved. Master Chief and Sergeant Avery Johnson infiltrate a Covenant agricultural ship in orbit over the glassed human colony of Promise, to find data leading to High Charity. It's a boarding in tight corridors, against the new Sacristan warriors, the ideal environment for the plasma-pistol combo and stealth assassination.
On Legendary, play it safe in these enclosed spaces. Always keep a charged plasma pistol, exploit doorway angles so you never get surrounded, and let Johnson draw fire while you clean up with the Magnum. This is where you pick up the Needle Rifle, a weapon to carefully keep for the next mission. Advance room by room securing each one before moving on, pick up Covenant weapons on the ground so you never run out of plasma, and use the nooks to recharge your shields between waves. Consider this mission your Legendary warm-up, the chance to hone the plasma-pistol reflex.
The second mission of the arc throws you into an open-air hunting arena, with floating-platform sections and rocket-launcher sequences. You face a fearsome mix of Brutes, Jackals, Elites, Grunts and Hunters, and a golden Energy Sword Elite returns three times in the level as part of a Skull challenge.
The big tactical novelty is the Brutes, and the most profitable trick is to enrage them. Use the Needle Rifle carried over from Boarding Action to enrage one or two Brutes, let them turn on the Covenant around them, then finish the survivor. For the rest, pick up the Beam Rifle from Jackal corpses and keep an Energy Sword taken from the invisible Elites. Against Jackal snipers, slowly inch out of cover, spot the pink glint of their scope in the foliage and eliminate them from range. Facing a Wraith, destroy its square purple front panel then snipe the exposed Elite pilot. Avoid approaching sleeping Grunts for a melee kill, shoot them from afar. Carefully preserve the Overshield hidden behind the trees for the final four-Brute wave, use the arriving marines to split the Hunters' attention, and in the final five-door room, fall back on the entrance and its boxes, the safest position.
The last mission of the prequel arc, Heavy Burden confronts you with bizarre experiments conducted under the gaze of the mysterious San'Shyuum Minister of Harmony, before wrapping up the operation. It's the climax of Operation Meteorite, more scripted and often more intense, where the game pushes you to your limits.
Approach this conclusion with all the arsenal you've accumulated and careful resource management. Arrive with full ammo for your best weapons, a charged plasma pistol and grenades in reserve, because the key fights of a mission finale don't forgive improvisation. Keep applying corridor discipline: secure each room, exploit the angles, let Johnson tank, and never advance without a fallback plan to recharge your shields. Save your heavy weapons and your Energy Sword for the difficulty spikes of the final sequence, and remember that surviving always beats speed. Clearing Operation Meteorite on Legendary will have perfectly prepared you for the main campaign's wide-open spaces.
The first classic mission serves as an introduction, but don't relax: even the tutorial bites on Legendary. You move through the corridors of the cruiser Pillar of Autumn under Covenant assault, with the goal of evacuating.
Grab the Magnum as soon as possible, it's your queen weapon for the whole campaign, and headshot the Grunts and Jackals to save ammo. The Elites, notably those in the bridge sections, are handled with the plasma-pistol combo or a stuck plasma grenade. Advance from cover to cover, let enemies come to you in the corridor chokepoints, and never waste your Magnum ammo on unshielded targets. Toward the end, don't try to kill everything: the final stretch to the escape pod is crossed by sprinting and dodging pointless fights, rather than grinding down every enemy.
The first big exterior, and the introduction of the Warthog. Crashed on the ring, you have to reach and rescue groups of marines scattered across the canyons. It's a mission of mobility and ally management.
Free the surviving marines and put one on the Warthog's gun: they'll clear out the Grunts and Jackals while you focus your plasma-pistol combo on the Elites, who remain the only real threat. In the canyons and on the bridges, keep your distance and let enemies approach rather than charging headfirst into an ambush. The Warthog is as much a mobile shield as a weapon: use it to run over Grunts and to retreat fast when a position becomes untenable. Beware the Elites that show up in Ghosts, hijack them if the chance arises, and re-embark your marines each time so you don't lose your support firepower.
An iconic night mission, and the sniper's paradise. You have to climb a cliff to a gravity lift, then board the Covenant ship of the same name to rescue Captain Keyes.
The sniper rifle is king for the whole first part: post up high and drop Elites with a headshot before they even spot you, prioritizing sword-wielders. The ascent to the gravity lift is done through patient, methodical ranged elimination, clearing each platform before advancing. Save your sniper ammo for the Elites and let the marines handle the small fry. Once inside the ship, a change of scenery: back to tight corridors and the plasma-pistol combo, watching out especially for active-camo Elites that rush you. Advance slowly, ears tuned to their footsteps and the visual distortion of the camo.
The island level, one of the most beloved, with a punchy Warthog landing on the beach. Your goal is to locate the facility's map, which involves a round trip and opening a security door.
This is where the Hunters appear, and the rule is absolute: never shoot their armor, aim for their exposed orange back and torso, ideally right after they charge and end up with their backs to you. Keep a rocket launcher or grenades for them and for tight groups of Elites. Secure the beach with the Warthog, using the gun and the mobility, before pushing on foot toward the Cartographer facility, where the corridors bring you back to the plasma-pistol combo. The second half, with the security door opening and the return to the beach, holds a punchy ambush: keep heavy ammo in reserve and don't get caught in the open.
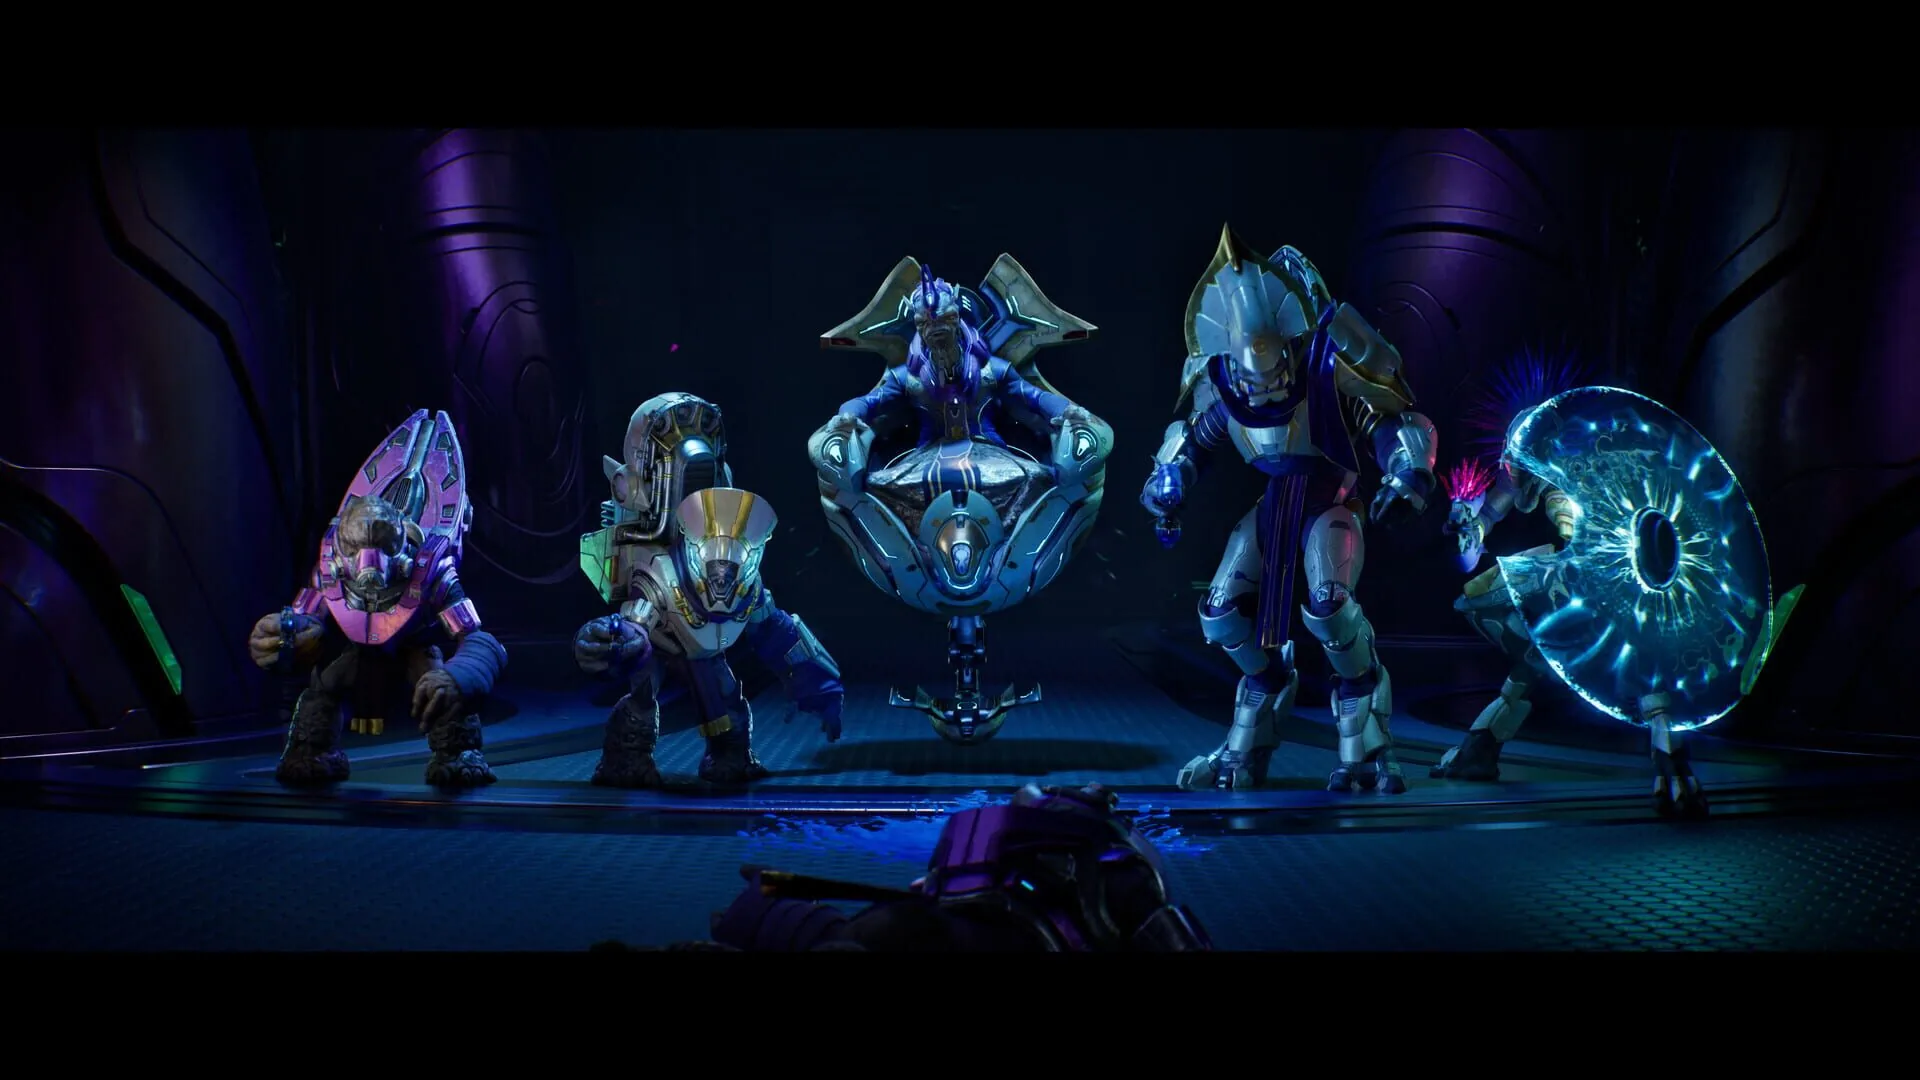
A long mission riddled with Elites and vehicles, across a succession of snowy bridges and structures. It's one of the most grueling levels on Legendary due to its length and its density of shielded enemies. It's also where the remake clearly introduces its expanded arsenal, with the Brute Plasma Rifle and the Needle Rifle available.
The key is the Banshee: hijack one as soon as possible, it lets you fly over entire bridge sections and avoid deadly fights, while offering welcome firepower. Ration your Magnum ammo like treasure, alternate with the plasma and new weapons picked up off the ground, and leave the Ghosts to the marines or hijack them to conserve. Facing the long bridge stretches, advance in stages: clear a section, move up, recharge your shields in cover, repeat. Never rush into an open room full of Elites without a Banshee or solid cover on hand. Patience is your best ally on this marathon.
The swamp, the horror atmosphere, and above all the introduction of the Flood, which upends your whole approach. Sent to recover Captain Keyes, you discover a threat far more vicious than the Covenant.
A total change of strategy: the shotgun becomes your essential weapon against the Flood combat forms, at close range, one well-placed blast pulverizing them. Save its ammo carefully and only bring it out for the Flood. Beware ambushes in enclosed spaces and dark rooms, where the Flood literally surges from everywhere, walls and ceilings included. The plasma-pistol combo loses all its appeal here, make way for raw firepower and frag grenades to disintegrate the groups. Always keep an eye on your back, never let yourself get cornered in a dead end, and advance with your back to walls when possible. This mission is also a lesson in atmosphere: the remake polishes the tension, don't let it make you panic.
The most dreaded mission in all of Halo, an endurance marathon through Flood-infested corridors, where you follow 343 Guilty Spark opening the doors for you. Four floors, constant pressure, and no respite.
The absolute key is endurance and perpetual movement: never stand still, never let yourself be surrounded, and always keep an escape route. Manage your shotgun and assault rifle ammo like treasure, alternating so you never run dry at the worst moment, and systematically pick up everything lying around. Frag grenades are your best friends for clearing the swarms of infection forms before they overwhelm you and reanimate your downed enemies. Follow 343 Guilty Spark without losing him, because he unlocks your path, but don't count on him to protect you. It's a test of nerves as much as skill: stay methodical, back to the wall in the nooks, and above all don't panic when the screen fills. Patience and composure overcome everything, even The Library.
The reverse of Assault on the Control Room, run in the opposite direction, this time with three-way battles pitting Covenant, Flood and Sentinels against each other. You have to deactivate pulse generators, which brings you back onto the snowy bridges, now far more chaotic.
The big principle here is to exploit the conflicts: let the factions kill each other, position yourself as a spectator and pick up the scraps once Covenant, Flood and Sentinels have mutually weakened. Throwing yourself into a three-way melee is the best way to die fast; waiting for the dust to settle is far wiser. The Banshee remains your best ally for crossing the wide spaces, reaching the generators and fleeing desperate situations. Beware the Sentinels and their beams, which pierce shields, and keep plasma weapons for the Flood as well as the Elites. Each generator to deactivate triggers its batch of enemies: prepare your approach and your retreat before acting.
Back aboard the Truth and Reconciliation, the ship from mission 6, now fully Flood-infested. You set out to recover Captain Keyes in corridors turned into a nightmare of three-way fights.
The ship's tight corridors, once perfect for the sniper, are now traps where anything can overwhelm you in an instant. The shotgun and plasma weapons are your best tools in these enclosed spaces, to keep loaded at all times. Advance slowly, secure each room before moving on, and exploit the clashes between Covenant and Flood without scruple to carve a path without taking everything yourself. Open areas like the hangar hold dense fights: look for elevated positions or chokepoints to funnel enemies, and never let yourself get caught in the center of a room surrounded on all sides. Always keep a grenade to break free if the Flood surrounds you.
The grand finale, back on the Pillar of Autumn, now Flood-infested. The mission plays out in two radically different acts, and you have to approach each with the right mindset.
The first part is a corridor fight, shotgun and plasma in hand, in the spirit of the previous Flood missions: secure, advance, watch your back, and don't waste your heavy ammo before the finale. Then comes the moment of truth: the famous Warthog run to escape before the cruiser explodes, timed and merciless. For this last stretch, completely forget combat and focus entirely on driving. Anticipate the jumps, keep your momentum, avoid explosions, debris and gaps, and don't stop for anything, because the clock doesn't forgive. Memorize the route on your first attempts, accept dying a few times to learn it, then chain it cleanly. Clearing this run on Legendary means finishing the campaign and earning the right to breathe. You've earned it.
What is the best strategy on Legendary?
The plasma-pistol combo: drain the enemy's shield with an overcharged plasma pistol shot, then finish with a Magnum bullet to the head. It's the key to the whole campaign, except in the Flood missions where the shotgun takes over.
How many missions does Halo Campaign Evolved have?
Thirteen in total, in order: Boarding Action, The Most Dangerous Game and Heavy Burden for Operation Meteorite, then Pillar of Autumn, Halo, The Truth and Reconciliation, The Silent Cartographer, Assault on the Control Room, 343 Guilty Spark, The Library, Two Betrayals, Keyes and The Maw.
Which is the hardest mission?
The Library, an endurance marathon in Flood-infested corridors that tests nerves as much as skill. Stay mobile, don't get surrounded, manage your ammo and don't panic.
How do you handle the remake's Brutes?
Enrage them with the Needle Rifle and let them turn on the other enemies, notably in Operation Meteorite, before finishing the survivor. It's a tactic specific to the remake, absent from the 2001 game.
Should you avoid some fights?
Yes, notably in Pillar of Autumn and the final Warthog run of The Maw. Knowing when to flee or bypass a pointless fight, often by hijacking a vehicle or exploiting the three-way battles, is as important as knowing how to fight.
Guide written based on the PC, Xbox Series and PS5 versions.
A question, a tip to share? The InsertCoins Discord is the place for it.