7
Test
ShipCrafter: the physics are impeccable, the editor is a punishment
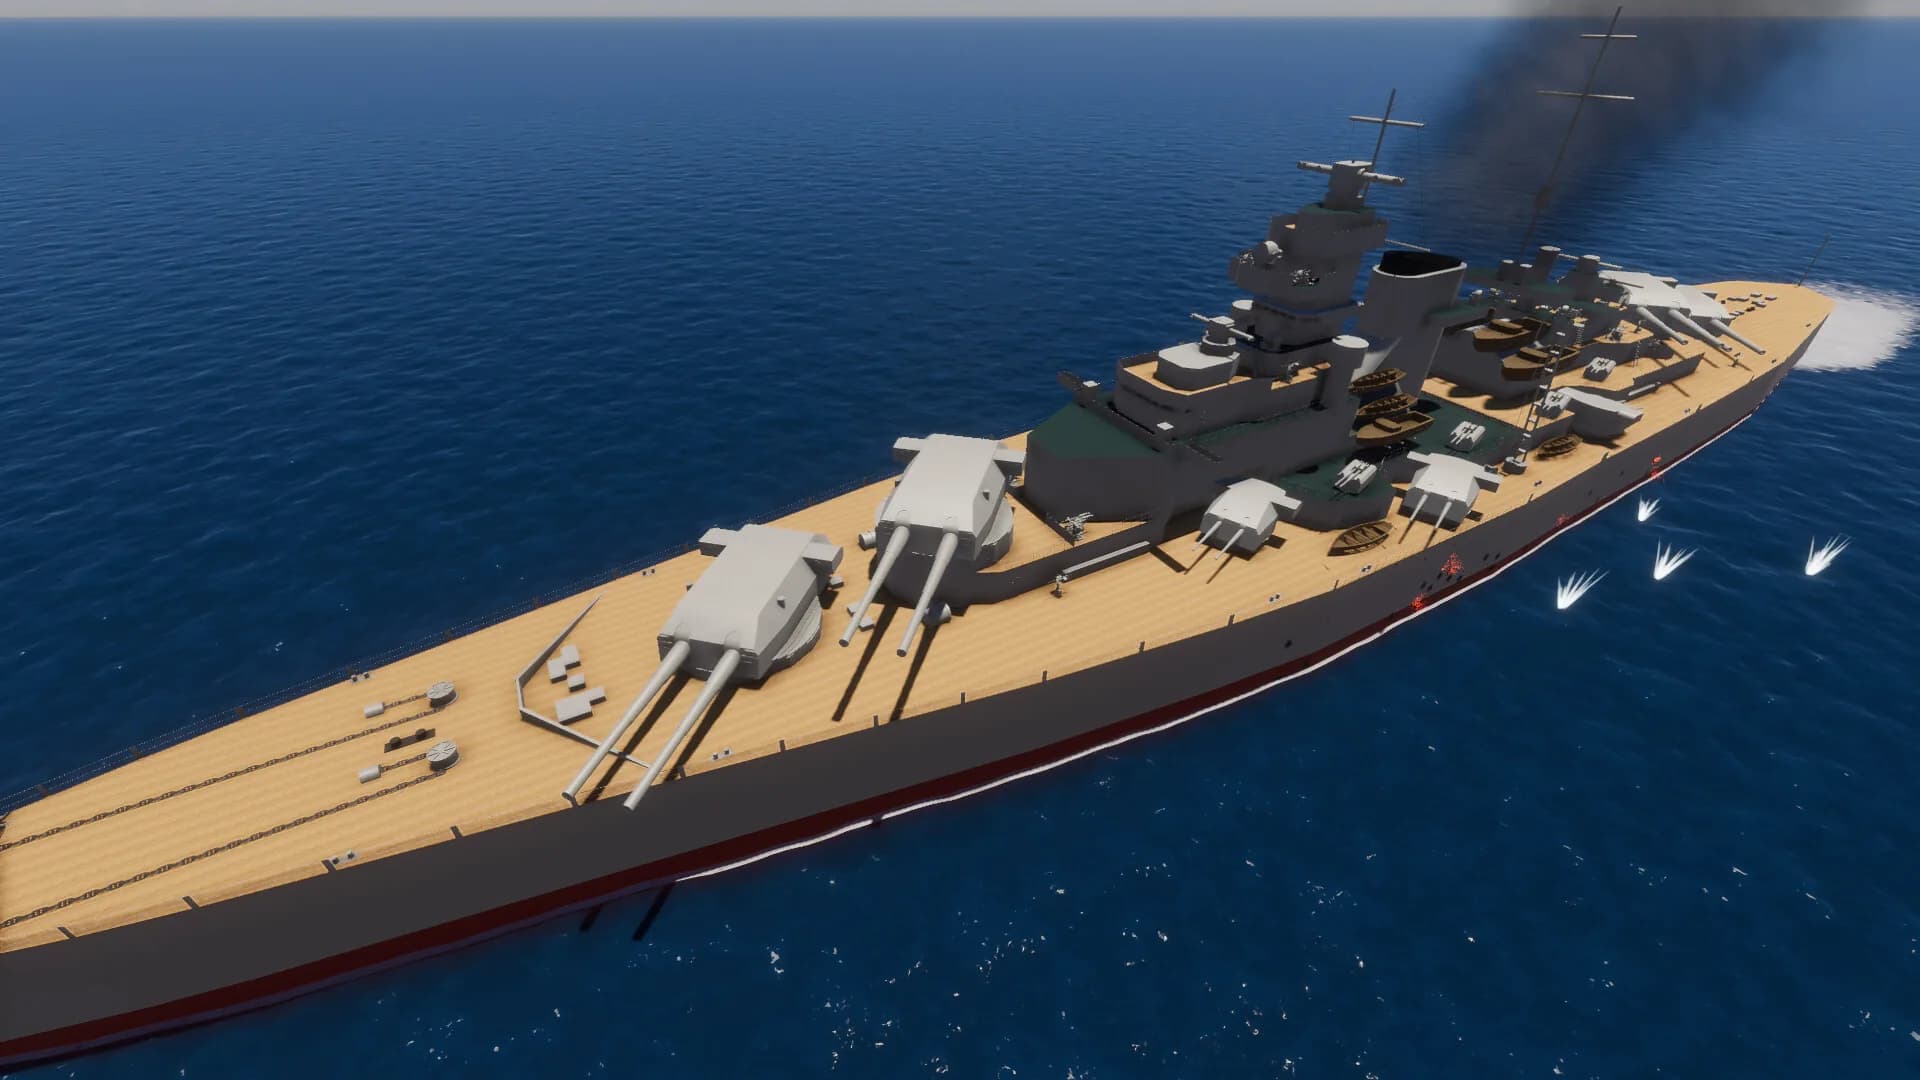
Real buoyancy, calculated ballistics, armour pierced by angle. And an editor where recolouring a block takes three clicks too many.
Alexandrosse
8 min
Centre of mass, density, angle of incidence and ballasts. How to build a ship that floats level, takes hits, and survives the first salvo.
Alexandrosse
ShipCrafter has almost no tutorial. It is the number one complaint from players who asked for a refund, and they are right: the game drops you in front of an empty editor and waits.
The problem is that behind that door sits one of the best naval simulations available for under eight euros. So here is the manual.
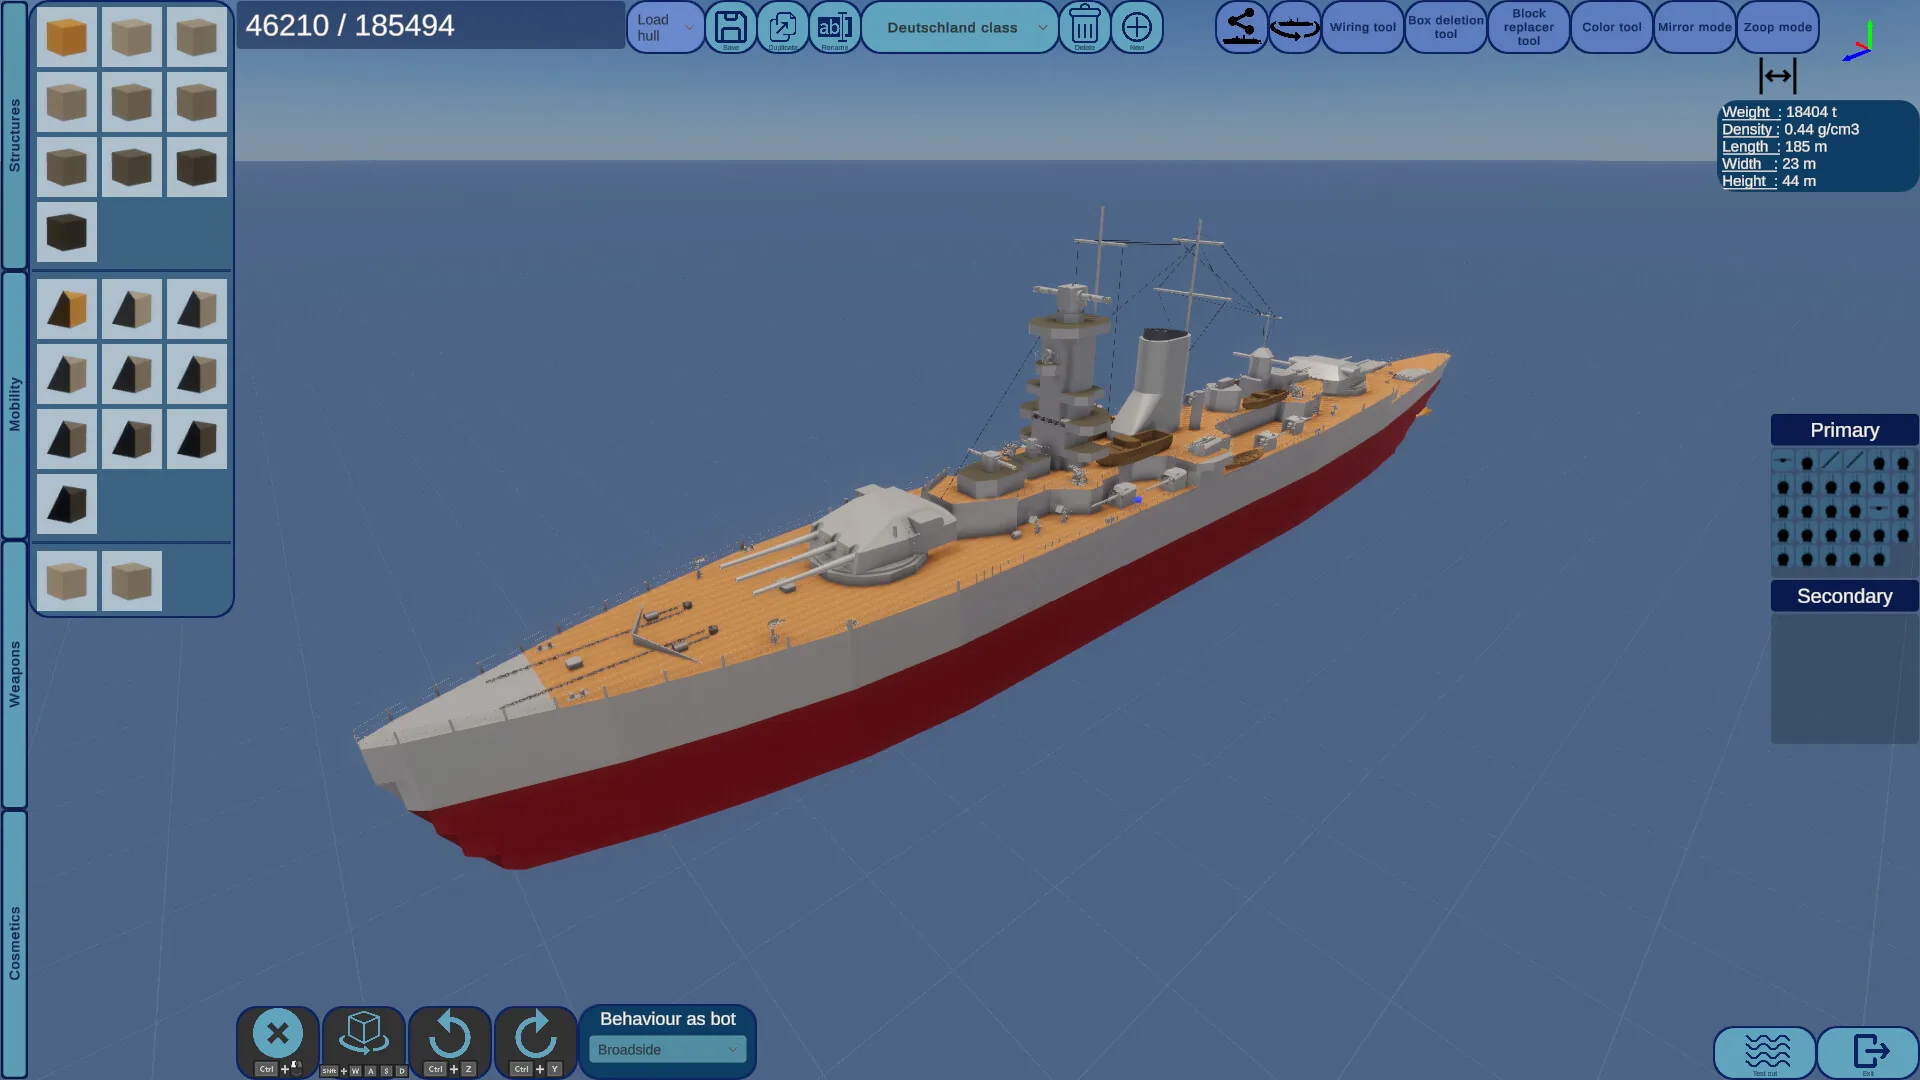
The editor displays your ship's density and its centre of mass. These are the only two pieces of information that genuinely matter, and nearly every beginner failure comes from not looking at them.
Density decides whether you float. Buoyancy is computed in real time from weight and submerged volume. Too much mass for too little volume and your ship sinks. It is that simple, and it is that merciless.
Centre of mass decides whether you float level. A ship that noses down, sits on its stern or permanently lists does not have a power problem, it has a distribution problem.
The basic rule: weight goes low and central. Heavy things, thick armour and machinery, go down into the hull. Light things go up. A high centre of mass means a ship that rolls and shoots badly.
Do not start with the guns. Everybody starts with the guns.
1. Lay a closed hull first. A hollow, watertight volume. That is what floats you. Look at the density and check you have margin.
2. Add machinery as low as possible. Engines are heavy, and putting them in the bilge gives you a low centre of mass for free.
3. Add armour next, in layers. And watch the density with every addition. Armour is the classic beginner mistake: you put it everywhere, and you get a ship floating fifteen centimetres above its own sinking.
4. Place armament last. Turrets are high by nature, they raise your centre of mass, and that is the last place you want to discover it.
5. Check your trim before saving. A ship that sits slightly off in the editor will sit badly off in a heavy sea.
Advertisement
Here is the part the game genuinely simulates, and that most players ignore.
A shell's penetration is calculated from armour thickness, angle of incidence, a bounce probability, and the shell's speed and mass.
Read that carefully: the angle is on the list. And it matters enormously.
A sloped plate behaves like a thicker plate. A shell arriving at an angle has to travel through more material, and above all it is far more likely to bounce.
Practical consequence: slope your sides. Outward-sloping plating, or an angled belt, gives you better protection for the same weight. And weight is your scarcest resource, since it decides your buoyancy.
That is the advice that transforms a beginner's ship the most. You do not win by adding steel, you win by setting it at an angle.
There is no health bar. Damage is physical, and crucially: a turret that gets hit loses performance, and so does an engine.
Two consequences that change how you build and how you fight.
When building: do not group your critical systems. Two engines side by side means one shell removes half your speed. Spread them out, and put armour between them where you can.
In combat: aim at functions, not at mass. An enemy ship whose machinery is hit becomes slow, therefore easy to hit, therefore dead. You win far faster by knocking out two turrets than by hammering an armoured belt.
Trajectories account for air pressure and how it changes with altitude, and for the influence of speed on a shell's drag.
The studio states honestly on its page that speeds and distances are reduced relative to reality, because a shot at twenty kilometres would take over a minute to arrive.
What to take from that in play:
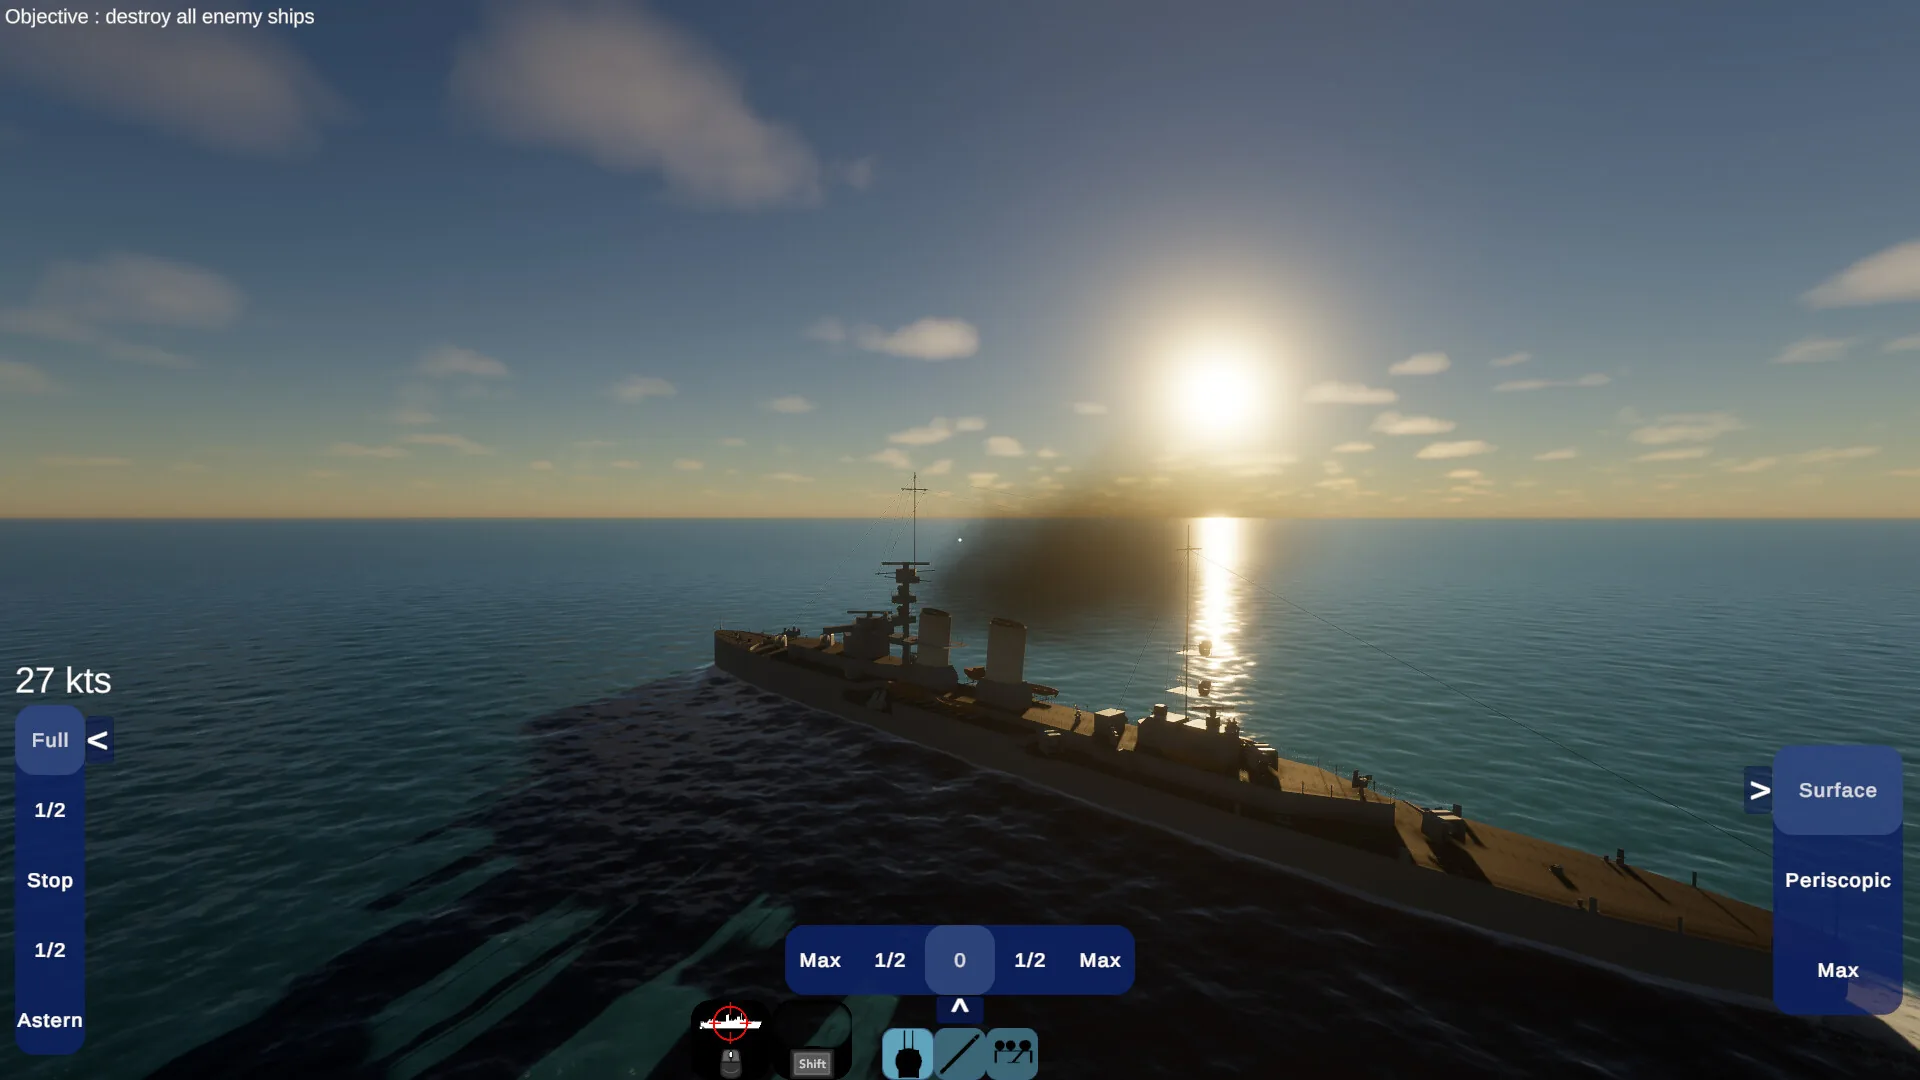
Time of flight exists. You do not shoot at a ship, you shoot where it will be. Against a manoeuvring target, leading is everything.
There is manual and automatic weapon control. Take automatic to learn and for slow targets, and switch to manual for fast targets and long-range shots where you want to decide the point of impact.
The game supports adjustable ballasts, and therefore submarines. And it is where most hair gets torn out.
The problem is almost never ballast power. It is the centre of mass.
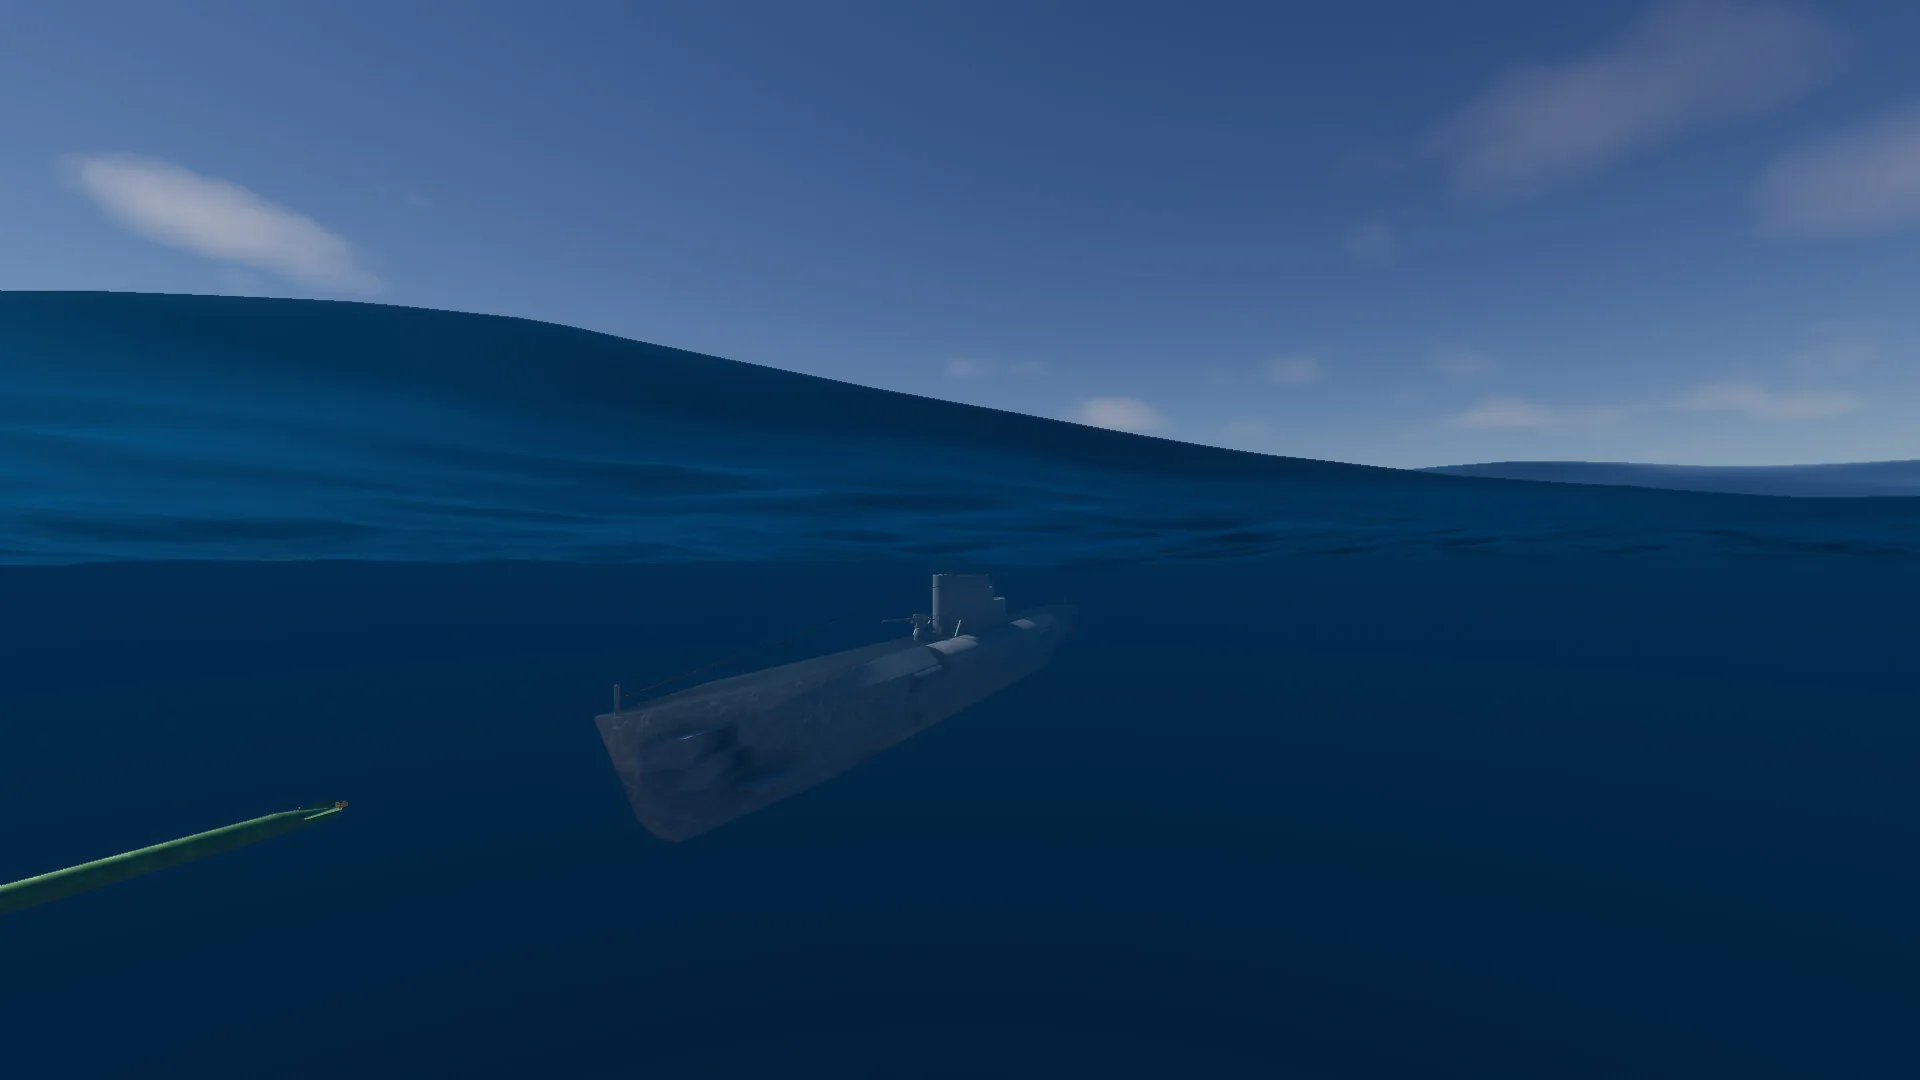
A submarine with a badly placed centre of mass does not dive, it noses in. You fill, the bow sinks, the stern comes up, and you corkscrew down.
To dive level, the centre of mass has to be longitudinally centred and low. Check it in the editor before launching, not after.
An honest warning: players judge the submarine system fairly basic, and it limits what you can build around it. Do not aim too ambitiously for your first one.
Since this is the game's acknowledged weak point, here is how to limit the pain.
You cannot copy an existing block, nor move one. Every time you want to place the same element again, you reopen the menu, find it, place it, and recolour it.
Three habits that save a great deal of time:
Work by block type, not by ship area. Place every block of one type in one pass, everywhere it goes, then move to the next. You save dozens of trips through the menu.
Do the colouring last, in passes. Same logic.
And save versions. Since you cannot move a block, a bad structural decision is paid for in rebuilding. Keep a save before every major change.
Custom battle mode lets you choose the weather and time of day, and above all start bot versus bot fights. Use it as a test bench: pit your new ship against your old one, hands off, and watch what breaks.
It is the best design tool in the game, and it is presented as a game mode.
The ten-player multiplayer sandbox lets you disable damage. In other words, you can show off your ships without anyone sinking them. Useful for comparing hulls with somebody.
And the Steam Workshop works: before spending six hours on a hull, download two or three other people's creations and open them up. You will learn more from dismantling somebody's ship than from reading this guide.
Got a hull that bounces shells at impossible angles? Workshop links get shared on the InsertCoins Discord, we are building a fleet.
Community
Your rating
Advertisement
Loading comments...
You might also like
Real buoyancy, calculated ballistics, armour pierced by angle. And an editor where recolouring a block takes three clicks too many.
100 echo shards maximum, 10,000 emeralds maximum, enchantment books reusable forever. All of it hidden.
The clock freezes and waits for you at class, your flute score strengthens your spells, and the garden pays for your potions.

Montclair, Zeiza, Parkside: who hosts what, how Archetypes and Amps work, and where to spend your time.