7.5
Test
Lootbound: moving a sword one square changes your whole build, and that is where its real depth hides
A dark fantasy roguelite where inventory layout is the build. Brilliant on that ground, but this is not an RPG.
Alexandrosse
6 min
Adjacency auras, four heroes, four damage types, twenty-sided dice and a Guardian you assemble yourself. Everything to understand before your first run.
Alexandrosse
Lootbound has a presentation problem, and it will cost you your first few runs. The game looks like a tactical roguelite where you win fights. In practice you win them in the inventory screen, between two rooms, by moving items one square.
This guide starts there. It will not hand you a definitive stat table, because the game launches today and those numbers will move. It hands you the logic, which will not.
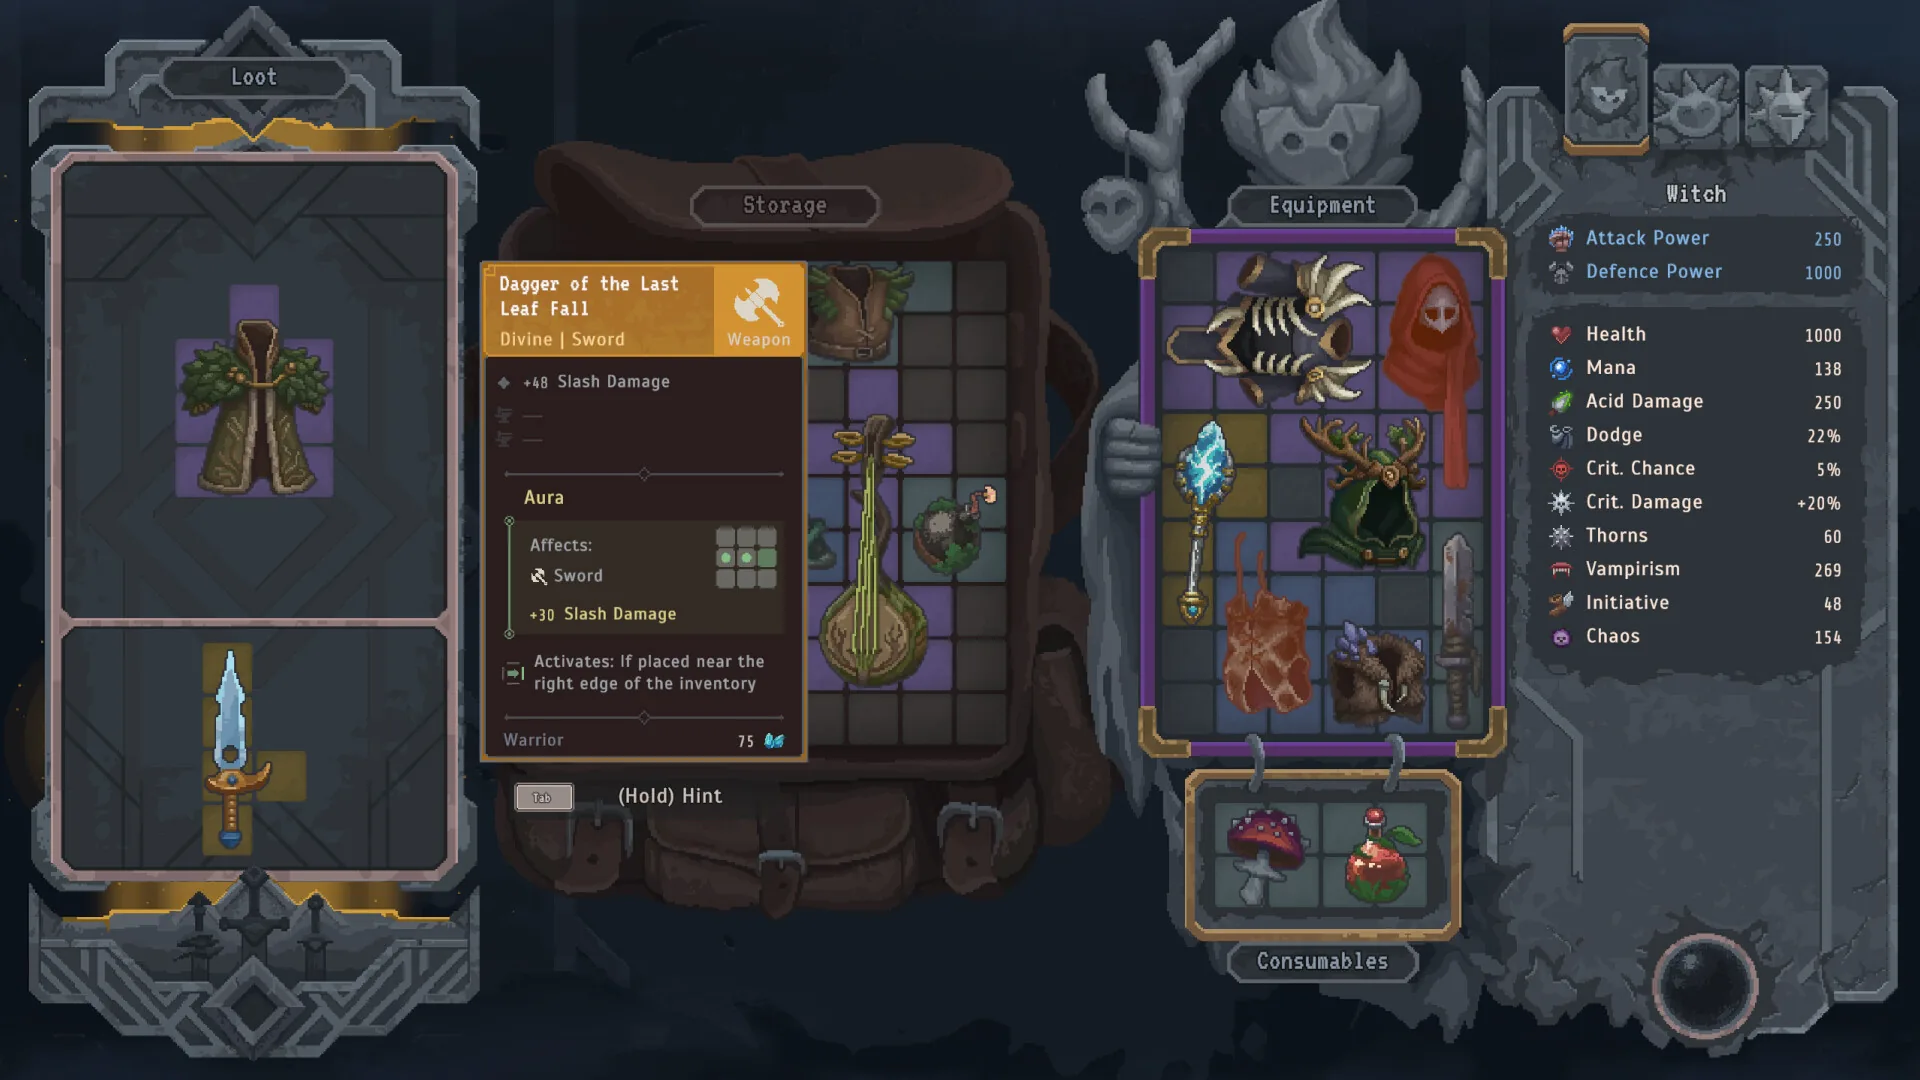
Your items have no imposed slot. You rotate them, you place them wherever there is room, and each character carries their own inventory.
Some items, the rarer ones, carry an aura. An aura does not strengthen the item holding it: it strengthens the items sitting in the neighbouring squares. And it almost always comes with a condition, along the lines of "plate only" or "swords only", spelled out in its tooltip.
The consequence is the one everybody takes three runs to absorb: a mediocre item well placed beats a superior item badly placed. You pick up a plain grey sword, it touches three auras, it becomes your best weapon. You pick up a legendary sword, you drop it in an empty corner, it is worth nothing.
Which leads to the single most profitable reflex in the game: when you hesitate over a pickup, ask first whether you would not gain more by simply rearranging what you already own. A free relocation often pays better than a new item.
The beginner's mistake is dropping the aura into the first free hole. You want the opposite.
When an aura drops, do not place it immediately. First identify the two to four items that would benefit most, accounting for its type condition. Then build the district around that future point of contact. An aura is placed with a view to what will surround it, not to the room that happens to be left.
Three placement principles that hold up over time:
The centre is worth more than the edges. A central square touches four neighbours, a corner square touches two. That sounds obvious written down, and it is not obvious at all while you fill your grid in the order loot arrives. Save the centre for whatever radiates.
Compact beats sprawling. A dense rectangular layout leaves you options when the next item shows up with an awkward shape. A grid riddled with single-square holes is a grid where nothing useful will fit again.
Small items are your best connective tissue. A one-square accessory costs almost no room and can touch several auras at once. Those are the pieces that hold combinations together.
If you want a simple starting point, split your grid mentally into three districts: a damage district with weapons and offensive trinkets, a defence district with armour and shields, a utility district with mana and effects. You will refine it later, but it keeps you out of mush.
Advertisement
You pick one main hero and two companions per run. Sorting loot gets far faster once you know what each one wants.
The Warrior is your raw damage. He wants Damage, Critical Chance, Slash Damage and Vampirism. He is the easiest character to equip and the most forgiving of an imperfect grid.
The Paladin absorbs. He wants Armour, Health, Resistance and Order. Do not hand him your slashing weapons meaning well, he will not get much out of them.
The Witch is the magic specialist. She wants Acid Damage, Chaos, Mana and debuff abilities. She is the answer to heavily armoured enemies, more on that below.
The Jester is support. He wants instrument-type weapons and buff abilities rather than personal damage. He is the least gratifying character to play selfishly and the most useful to a party.
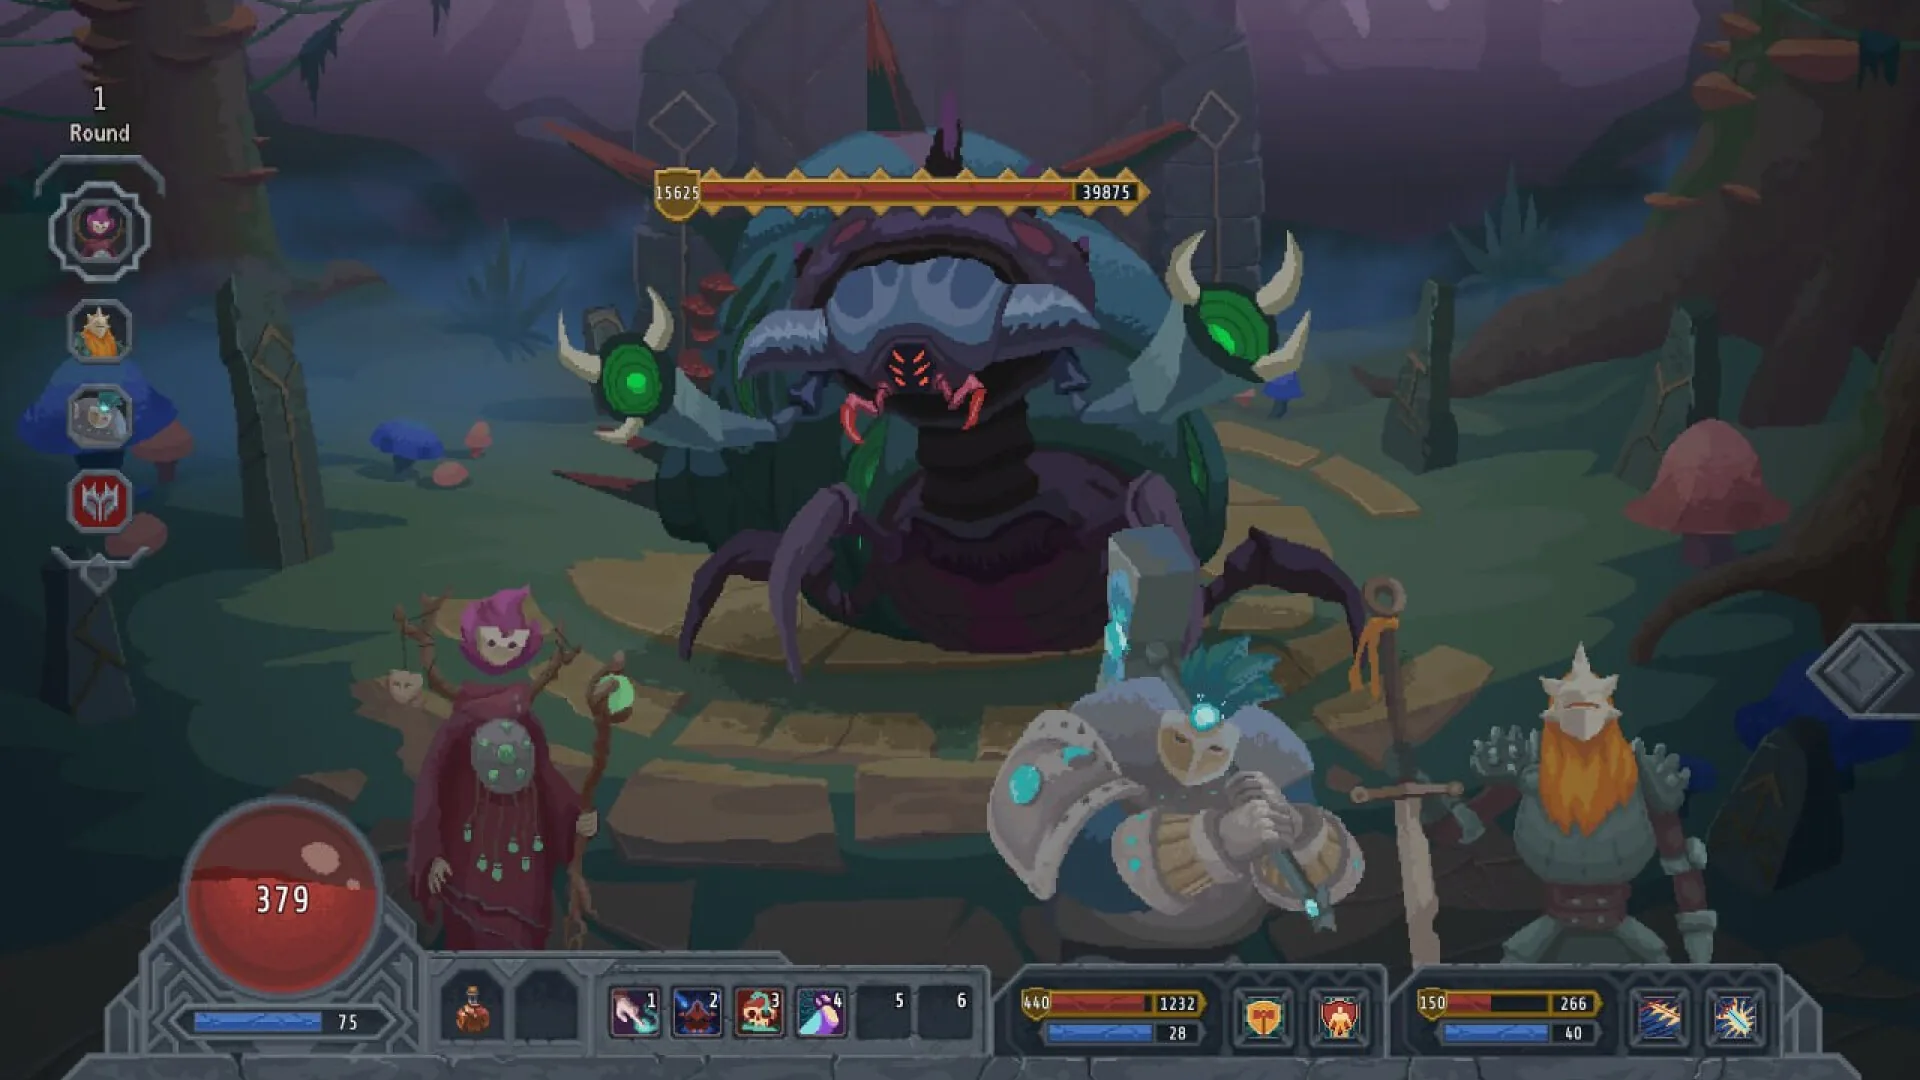
One structural detail: in combat you only pilot your main hero. Companions chain a basic attack and then their special ability once its conditions are met, and they do it without consulting you. They will waste resources on weak enemies, which is the most common complaint about the game, and you cannot intervene during the turn. You act on them in exactly one place: their equipment. All the more reason to tend their grids.
This is the part of the system the game explains worst, and the one that unlocks the most situations.
An enemy in front of you has two layers: armour, then health. The four damage types do not treat them the same way.
Base damage chews through armour, then health. It is the reference case, with no quirk.
Slash damage goes after health once the armour is down, and it scales with Critical Chance and Critical Damage. It is the type that climbs highest, provided you have already cracked the shell.
Crush damage specifically targets enemy armour. On its own it kills slowly. As a can opener in front of an armoured opponent, it changes everything.
Acid damage strikes health directly, bypassing armour completely. It is the game's workaround tool, and the real reason to bring the Witch.
Remember the combination that solves most walls: crush to open, slash to kill. And when an enemy shows armour you will not chew through in the time available, stop grinding at it and switch to acid.
On defence, four stats not to confuse. Armour fully replenishes after every fight: spend it without a second thought, it is free. Health does not come back on its own, it is your real run gauge. Resistance reduces all incoming damage consistently, making it the most reliable defensive value. Dodge gives a chance to avoid a hit entirely, which is excellent when it lands and catastrophic when you were counting on it. Do not build survival on dodge.
Two words show up all over the item pool and deserve translating: Order boosts healing, armour repair and support, while Chaos amplifies curses, debuffs and poison. Vampirism heals its bearer every time they deal damage, which makes it the best answer to the problem of health never coming back.
Basic attacks cost nothing. Abilities consume mana. And mana only partially regenerates between fights, at a rate that drops further on higher difficulties.
So treat it as a run resource, not a fight resource. In practice, save your abilities for elites and bosses and settle ordinary fights with basic attacks even if it takes longer. The player who throws everything at every encounter arrives at the Guardian empty.
Initiative decides who acts first, and it matters more than it looks: it decides whether your buff lands before or after the enemy's blow, whether your curse arrives before their attack, whether you remove a threat before it fires. Within a turn the useful order is almost always the same: setup first, threat removal second, consumables last.
Consumables, precisely, are underrated: health potions, mana potions and bombs do not consume your turn. There is no reason to save them for later. A bomb thrown on top of your attack is free damage.
Finally, target priority. Hit the enemies that strengthen their allies first, then the ones that weaken you, then the heavy damage, and leave the defensive ones for last. It feels wrong when a colossus is staring at you, but a support left alive multiplies everything else.
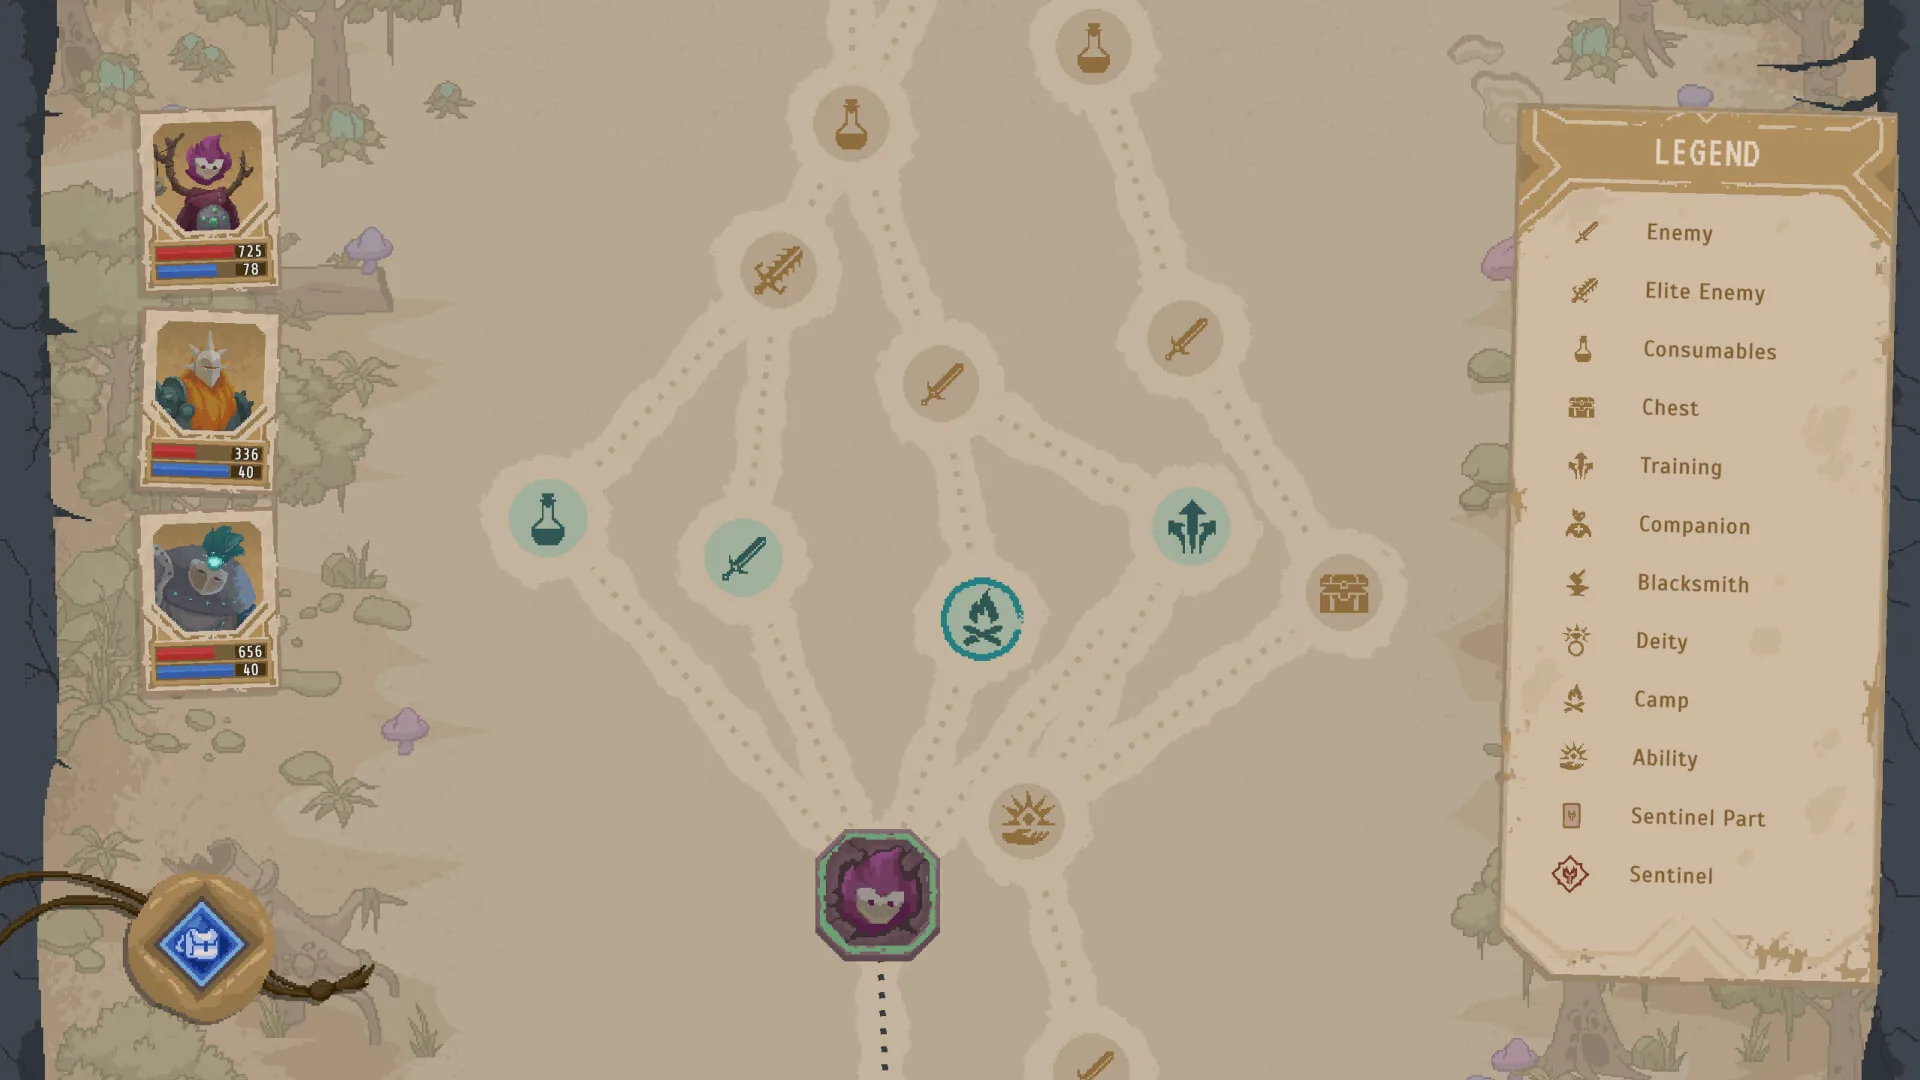
You cross three biomes, on a node map that regularly offers a branch between two different rewards. Your route is a choice, not a corridor.
The nodes worth knowing:
Fights, which pay your loot. Campfires, which restore health, the one resource that never returns by itself. The blacksmith, who sets permanent gem enchantments granting damage, critical, vampirism, armour or dodge. And the training rooms, which are the game's real gamble.
In those rooms you are offered several rewards sorted by difficulty, to be won on a twenty-sided dice roll, with three tiers per room. The better the reward, the higher the threshold. Every new biome refunds you a small stock of bonus dice, and purchasable dice with different outcomes exist.
The management rule is easy to state and hard to hold: gamble early, bank late. At the start of a biome your bonus dice have just been topped up and a run spoiled early can still be rebuilt, so go for the high tier. At the end of a biome, with your reserves thin, take the tier you will certainly clear. An average item in your grid beats a fantastic one the die refused you.
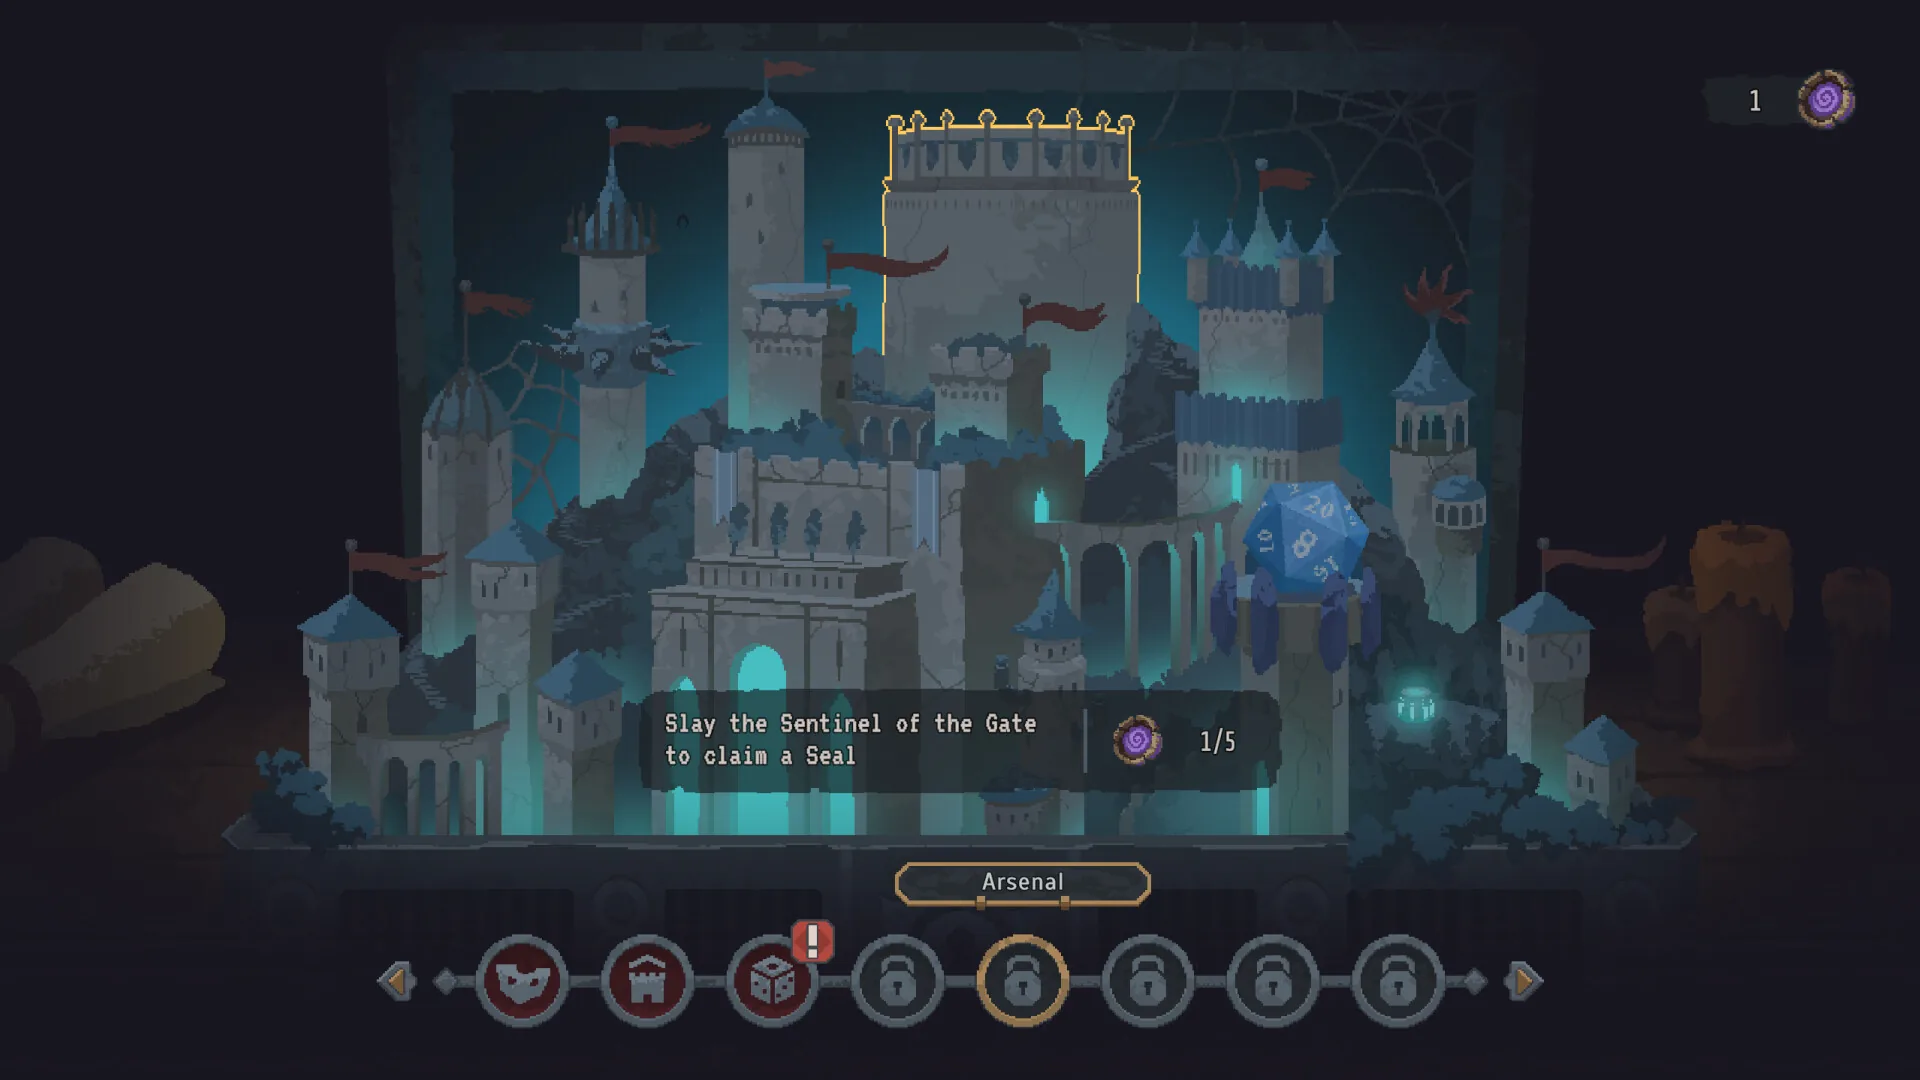
At the end of each biome you choose between two boss parts. Each part changes the appearance and power of the creature you will face at the very end. After three biomes, you have assembled your own monster.
It is the game's best idea and its most elegant trap, because people generally pick whichever part looks least frightening in the moment, without asking what it will do combined with the other two.
The right method is to choose according to your build, not according to the part. If your party runs on acid damage, a part that adds armour to the Guardian costs you almost nothing, so take it and refuse the one adding raw health. If you play slash and critical, it is the reverse: armour is your enemy, health is your playground. You are not picking the weakest boss in the abstract, you are picking the one your composition already knows how to beat.
Chasing rarity. An item's colour says nothing about its value in your grid. An ordinary piece wired into three auras crushes an isolated rare one.
Filling in arrival order. You end up with a grid full of holes, unable to house the piece that would have changed everything.
Spending mana early in a biome. You reach the elite with basic attacks and lose a fight your equipment was winning.
Believing you are specialised when you are not. The game rewards narrow, coherent builds far more than parties that do a bit of everything. If your grid holds a little of everything, it holds nothing.
Forgetting to rearrange after adding. Placing an item changes the neighbourhood of all its neighbours. The right habit, after every pickup, is to reread your district.
The game launches right now, as a 1.0 rather than early access, with a 35% launch discount running for two weeks. So there is no community value table yet, no consensus on best compositions, and the pre-release write-ups all flagged the same things: an awkward interface and mechanics the game does not explain enough.
This guide deliberately covers the logic rather than the numbers, because the logic will outlive the patches. Once the community settles on its reference combinations, we will expand it.
Found an aura combination that breaks the game? Come put it on the InsertCoins Discord, we would very much like to test it.
Community
Your rating
Advertisement
Loading comments...
You might also like
A dark fantasy roguelite where inventory layout is the build. Brilliant on that ground, but this is not an RPG.
100 echo shards maximum, 10,000 emeralds maximum, enchantment books reusable forever. All of it hidden.

Centre of mass, density, angle of incidence and ballasts. How to build a ship that floats level, takes hits, and survives the first salvo.
The clock freezes and waits for you at class, your flute score strengthens your spells, and the garden pays for your potions.