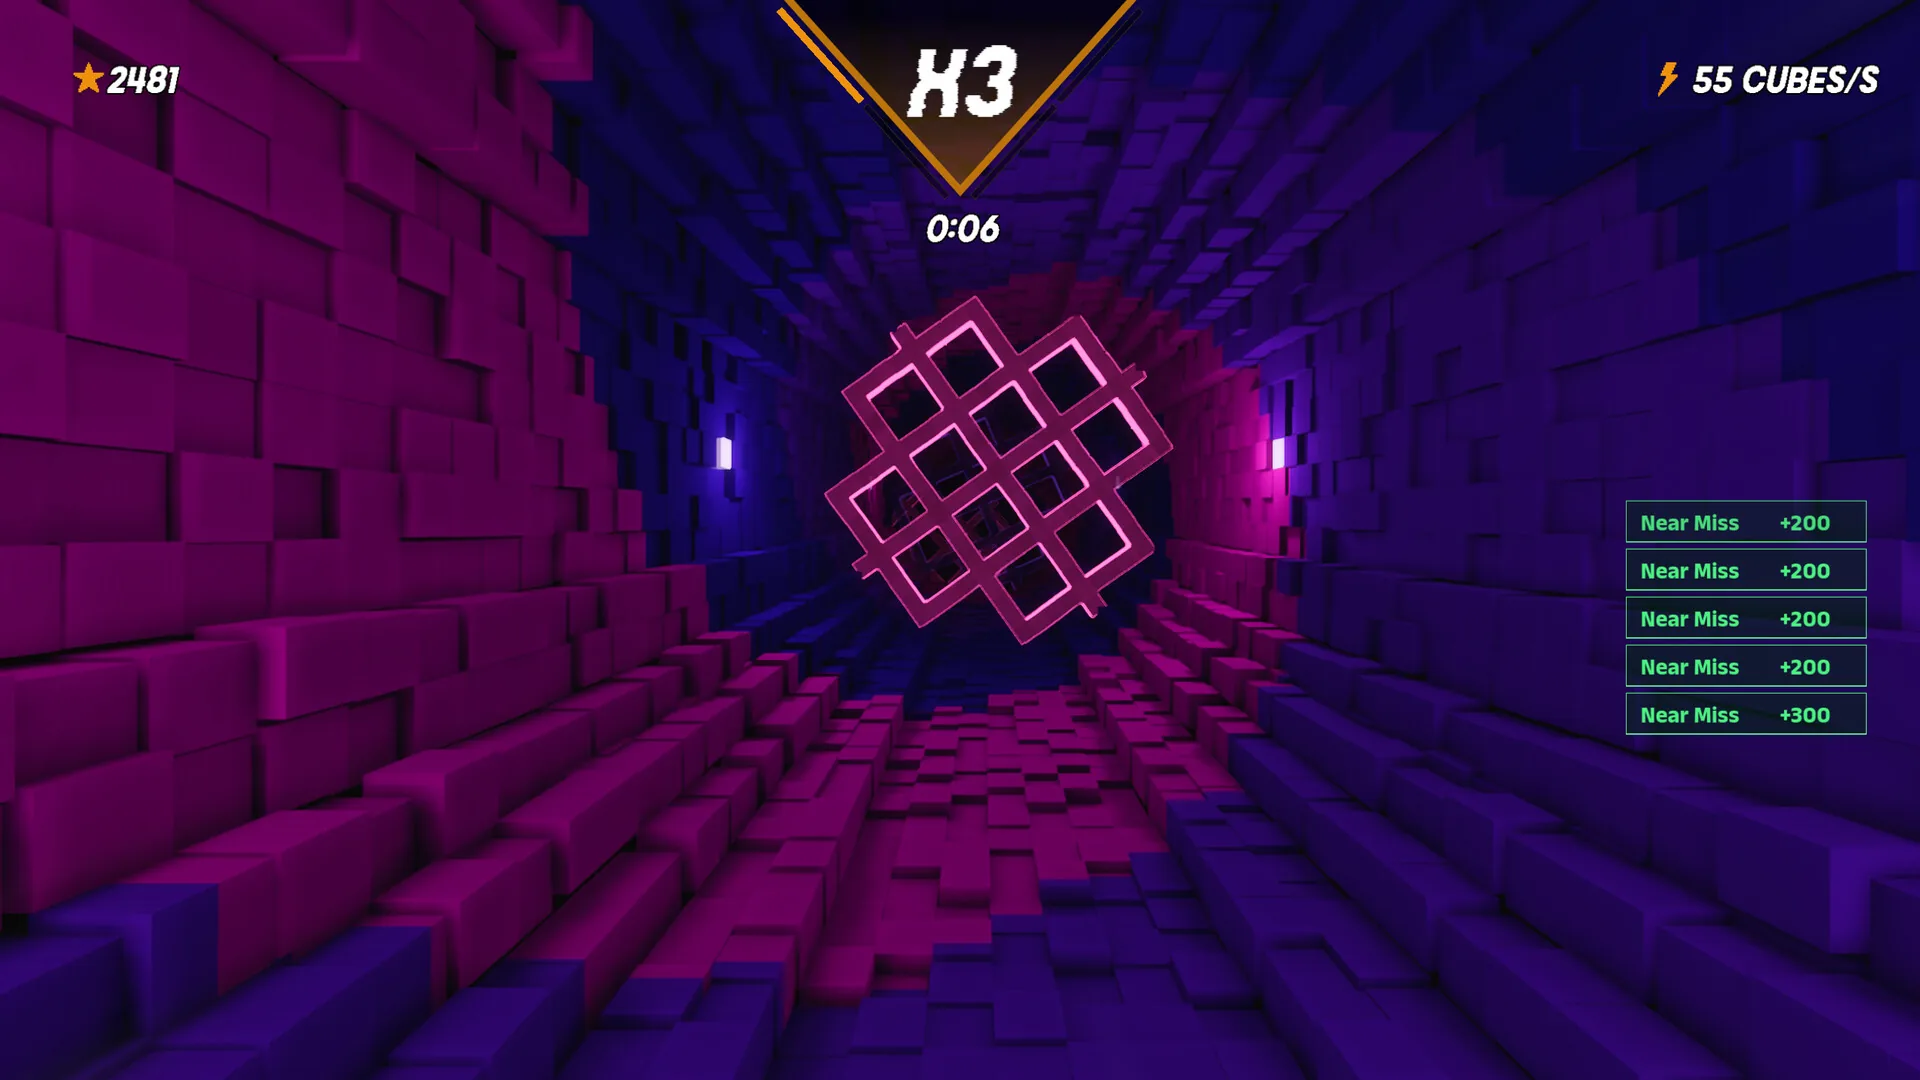
Most players will launch Sensory Overload, dive straight into Ranked, last forty seconds and conclude the game is illegible. They will be wrong on one count: it is illegible by default, but it does not have to be.
This game ships an unusual quantity of settings, and nobody tells you to open them before you start. That is exactly what this guide does.
The five minutes spent in the options are the most profitable of your session. Here is what to open, in order.
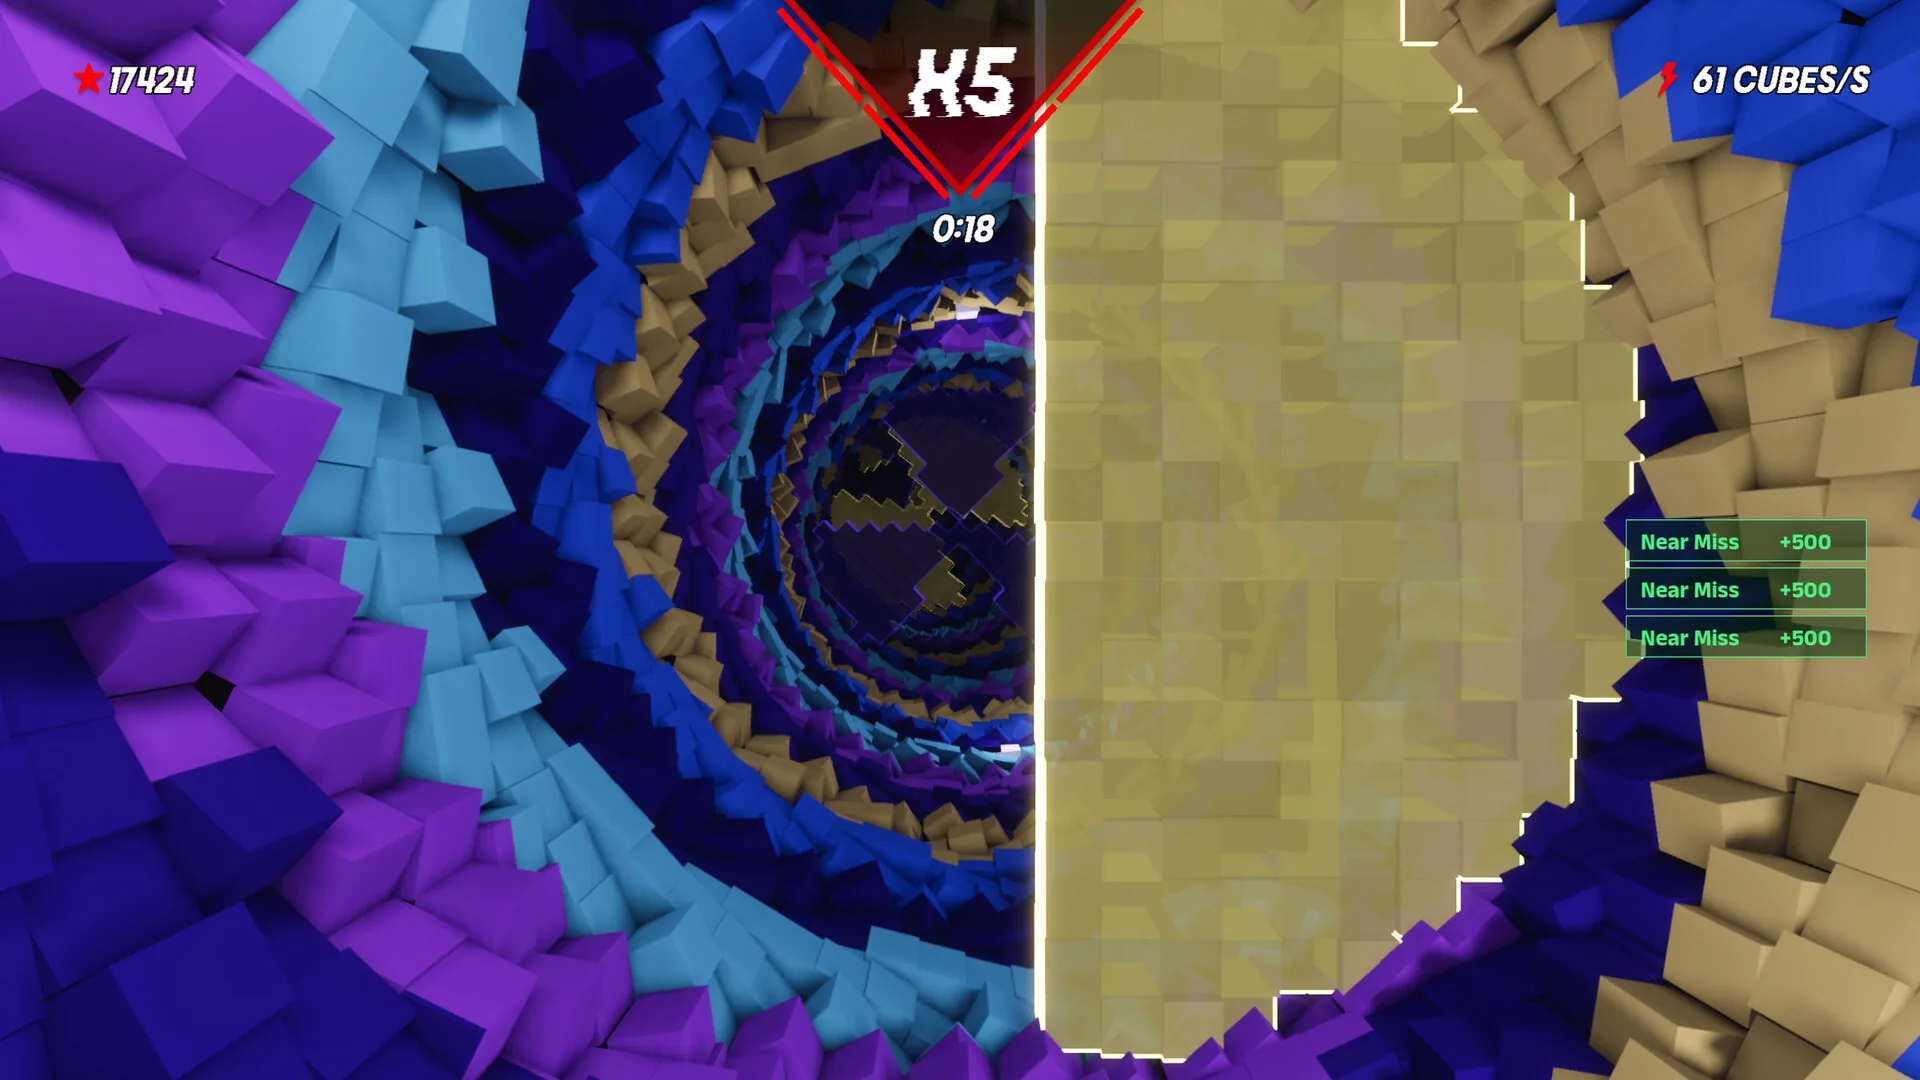
Obstacle outlines. This is the most important setting in the game and it is buried in accessibility. Two sliders: edge brightness, letting you dim or strengthen obstacle outlines, and their thickness.
Push both up. The game's principle is drowning useful information in visual noise; strengthening obstacle edges gives you back the read without removing the assault. You keep the vertigo, you recover the ability to see what is about to kill you. A player who raises these two sliders improves twice as fast as one who insists on the defaults.
Speed lines. A simple toggle removes them. They are one of the main sources of physical discomfort and they carry no gameplay information. If you are remotely prone to motion sickness, switch them off before your first run, not after your first turn.
The crosshair. Fully customisable: free colour, size, thickness, and two shapes beyond the standards, ring and outlined plus.
The advice that matters here is contrast. Pick a colour that does not exist in the palette of the level you are playing, and change it per level. A white crosshair in a tunnel going white is a lost crosshair. The ring works better than the cross on busy backgrounds, because it outlines an area instead of blending into the patterns.
Death options. Two music-linked settings are worth knowing: pause on death, and restart song on death. If you are chaining attempts, switch the restart off: hearing the same opening eight seconds fifty times running adds pointless fatigue.
Note also that there is a compatibility renderer for older graphics cards, which fixed an issue where obstacles rendered outright invisible. If you can see nothing at all, look there before concluding the game is broken.
Zen has no pressure, no score and no death. This is not a mode for embarrassed beginners, it is the game's most effective learning tool.
Use it as a perception training ground: cross an entire level with nothing at stake, concentrating solely on how the effects deform the tunnel. You will learn to tell what actually moves from what only pretends to, and that is the game's central skill.
Normal adds survival and scoring. This is the mode where you learn the levels.
Ranked offers endless escalation until you give up. This is the leaderboard mode, and the only one where your limit is physical as much as technical.
The classic error is starting with Ranked because it is the mode in the clips. Do the reverse: Zen to understand the effects, Normal to learn the routes, Ranked once both are in place.
The game lets you place your own checkpoints. This is the most underused tool it has.
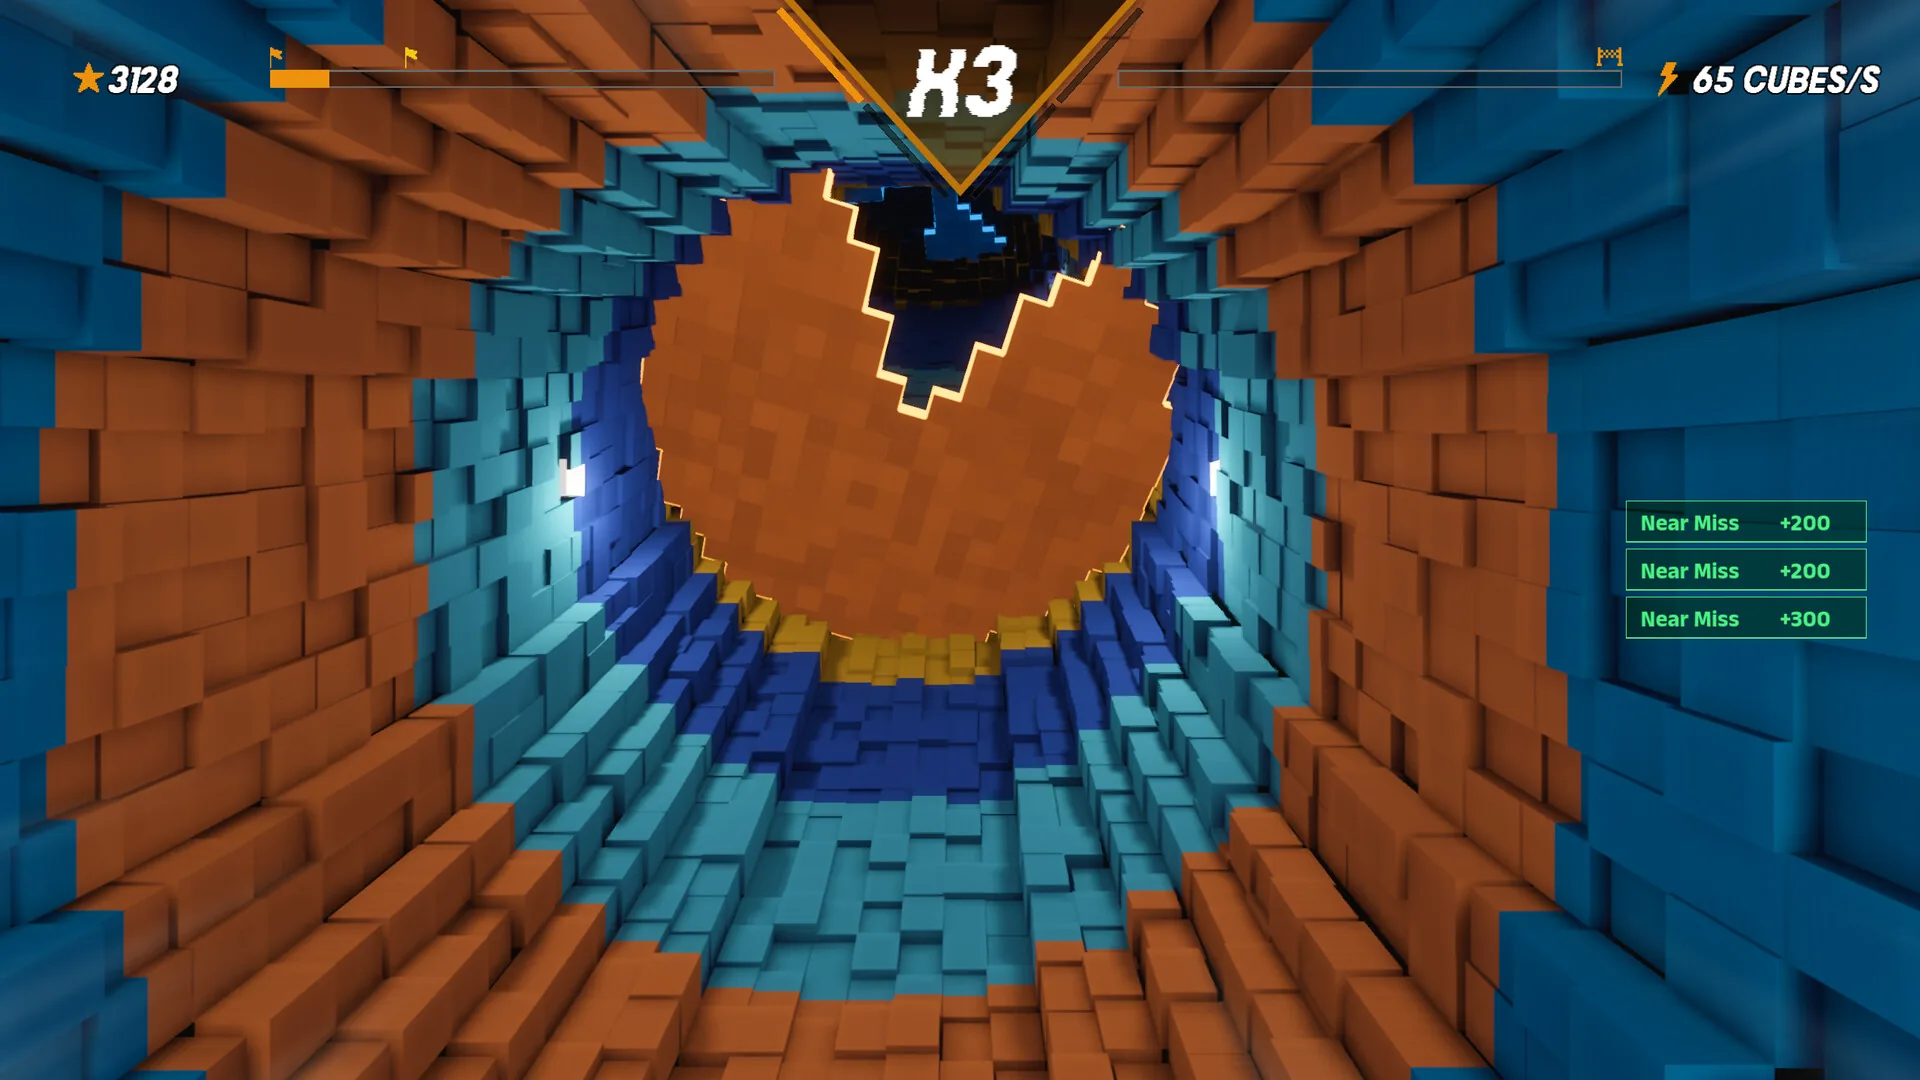
The right method is to identify the exact passage stopping you, put a checkpoint two seconds before it, and repeat until the movement becomes automatic. Two seconds before, not ten: you want to repeat the obstacle, not the run-up.
It is especially effective here because the difficulty is perceptual. A passage becomes easy not when your reflexes sharpen but when your brain has finished learning to ignore one specific effect. And that takes closely spaced repetition.
These are the principles that make the difference, and they are about perception more than reflexes.
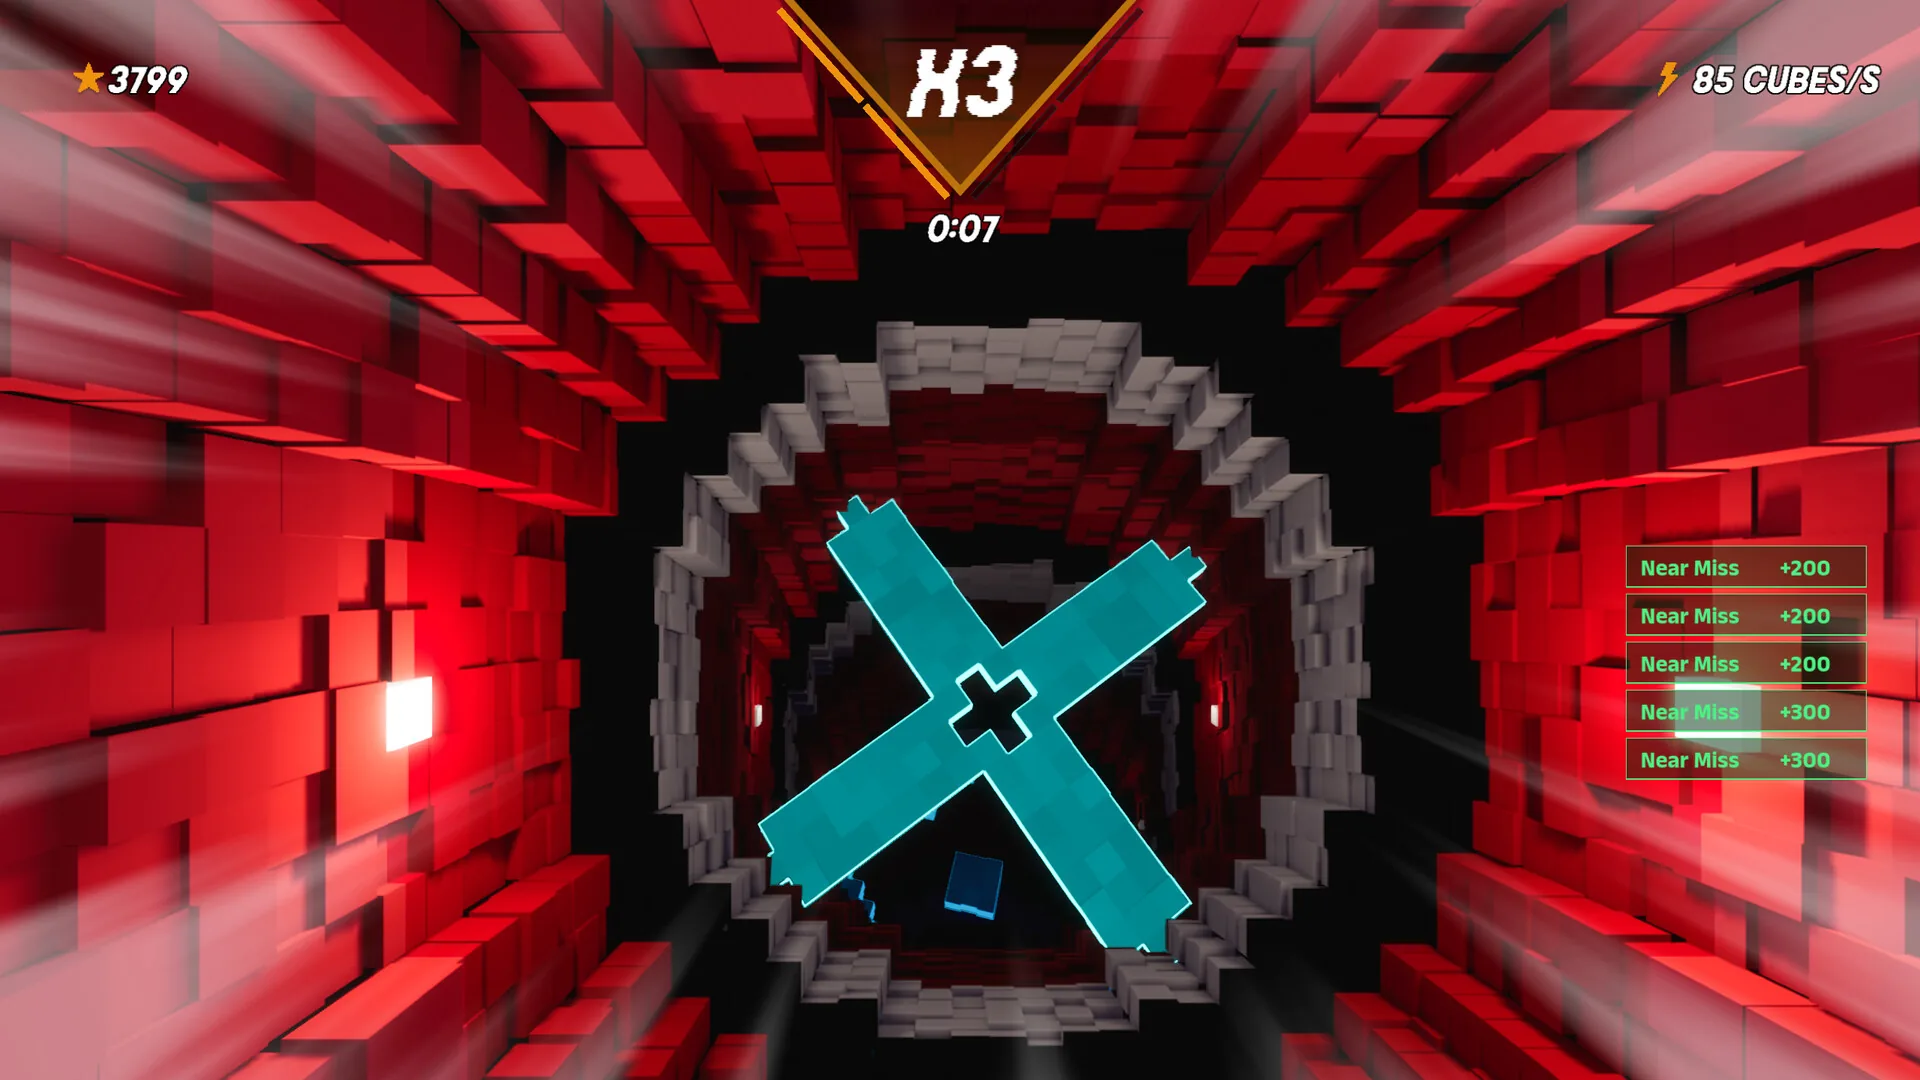
Fix on the centre, not the walls. This is the most important habit to build. The effects work mainly in the periphery: breathing walls, rotating patterns, shifting colours. Your peripheral vision will read all of it as real movement and give you the sense of drifting. Anchoring your gaze at the centre of the tunnel relegates the chaos to where it cannot steer your hands.
Trust outlines, not shapes. Once the outline sliders are up, get into the habit of hunting edges rather than identifying objects. The game deforms volumes and colours, but an edge remains an edge.
Anticipate the rhythm rather than the image. The game syncs to the music, and that sync is information as well as reward. Obstacle patterns often follow the bar: counting the music buys you fractions of a second your eyes will not give you.
Accept losing a moment. When a spiral sets in and the read drops out, the worst reaction is to correct sharply. The panic movement kills more often than the obstacle. Hold your line for half a second while the effect passes.
The game includes a level editor for creating and playing community maps.
It is not only for creating. It is also the best test bench for understanding the game: by placing obstacles and effects yourself, you discover how they combine and why certain pairings are so hard to read. An hour in the editor teaches more about the system than five hours of Ranked.
The developer also advertises more than 4,000 possible combinations of effects, which explains why two runs of the same level never quite match.
This guide would be incomplete without this section, because on this game the limit is often your body rather than your score.
Play in short sessions. In-game motion sickness accumulates and does not clear in ten seconds: three fifteen-minute sessions beat one hour that flattens you for the evening.
Move back from the screen and reduce its apparent size. The more of your field of vision the image fills, the more seriously your inner ear takes the movement. On this game, playing windowed is a strategy, not an admission of weakness.
Keep the room lit. A bright screen in the dark amplifies the effect considerably.
And stop at the first sign, not the second. The rule holds for any motion-heavy game and doubly for this one: nausea crosses the threshold very fast, and once it sets in it costs you the whole evening.
To close, a simple plan for the first few hours.
Open the options, raise obstacle outline brightness and thickness, switch off speed lines, set a contrasting crosshair.
Run a complete level in Zen without trying to play well, purely to observe the effects.
Move to Normal on the same level and learn its routes.
Use practice mode and checkpoints on the two or three passages stopping you.
Open the editor for half an hour to understand how effects stack.
And only then go and see how long you last in Ranked.
This guide will be expanded once the community has established reference routes on the final levels, which the developer describes as near-impossible.
Got a setting that changes everything and we have not listed it? Come and share it on the InsertCoins Discord.