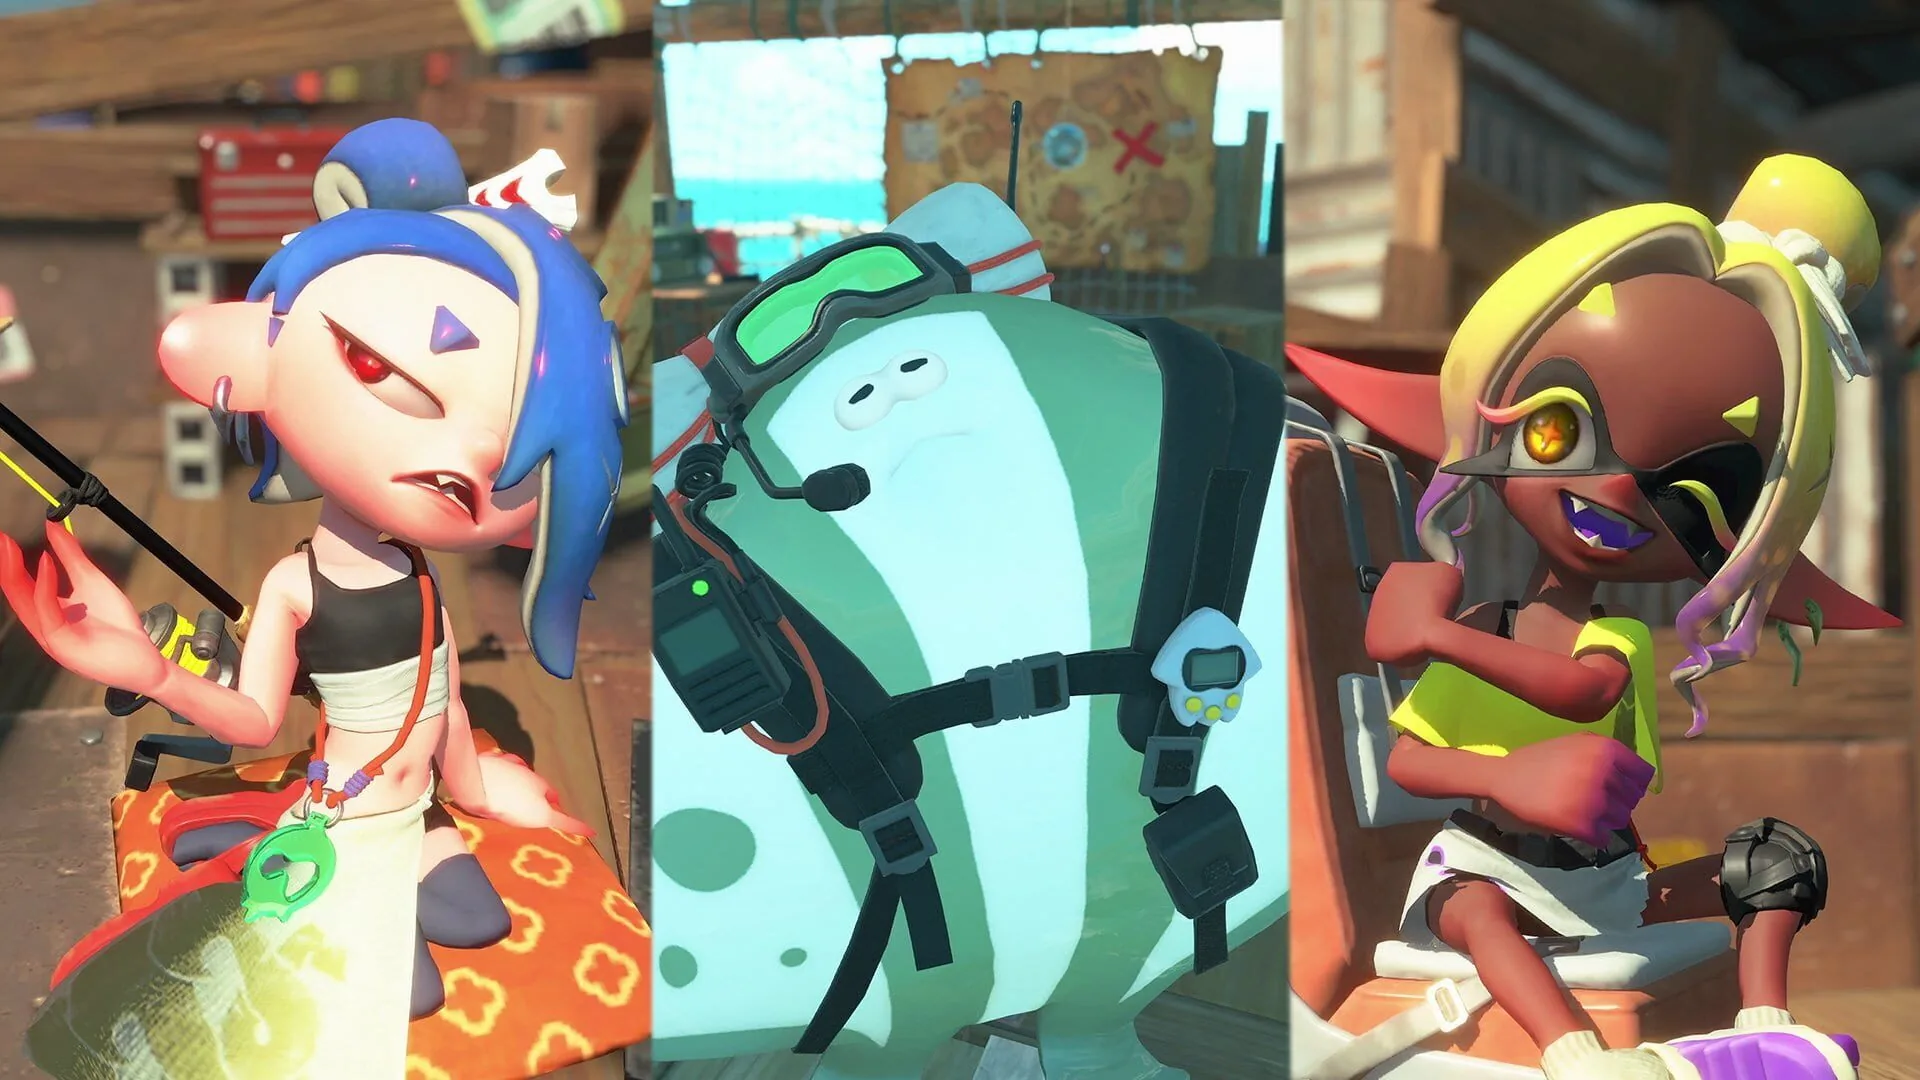
Splatoon Raiders tips the series into the PvE looter-shooter, and that turn comes with a whole set of systems worth understanding early so you don't flounder. Tanks, gadgets, relics, Bot Buddy, weapon families, difficulties that don't change the loot: between two raids, you can quickly get lost. This guide gathers the essentials to start right, optimize your progression and set off with solid builds from the first hours. Enough to go from lost tourist to efficient raider without losing dozens of hours to trial and error.
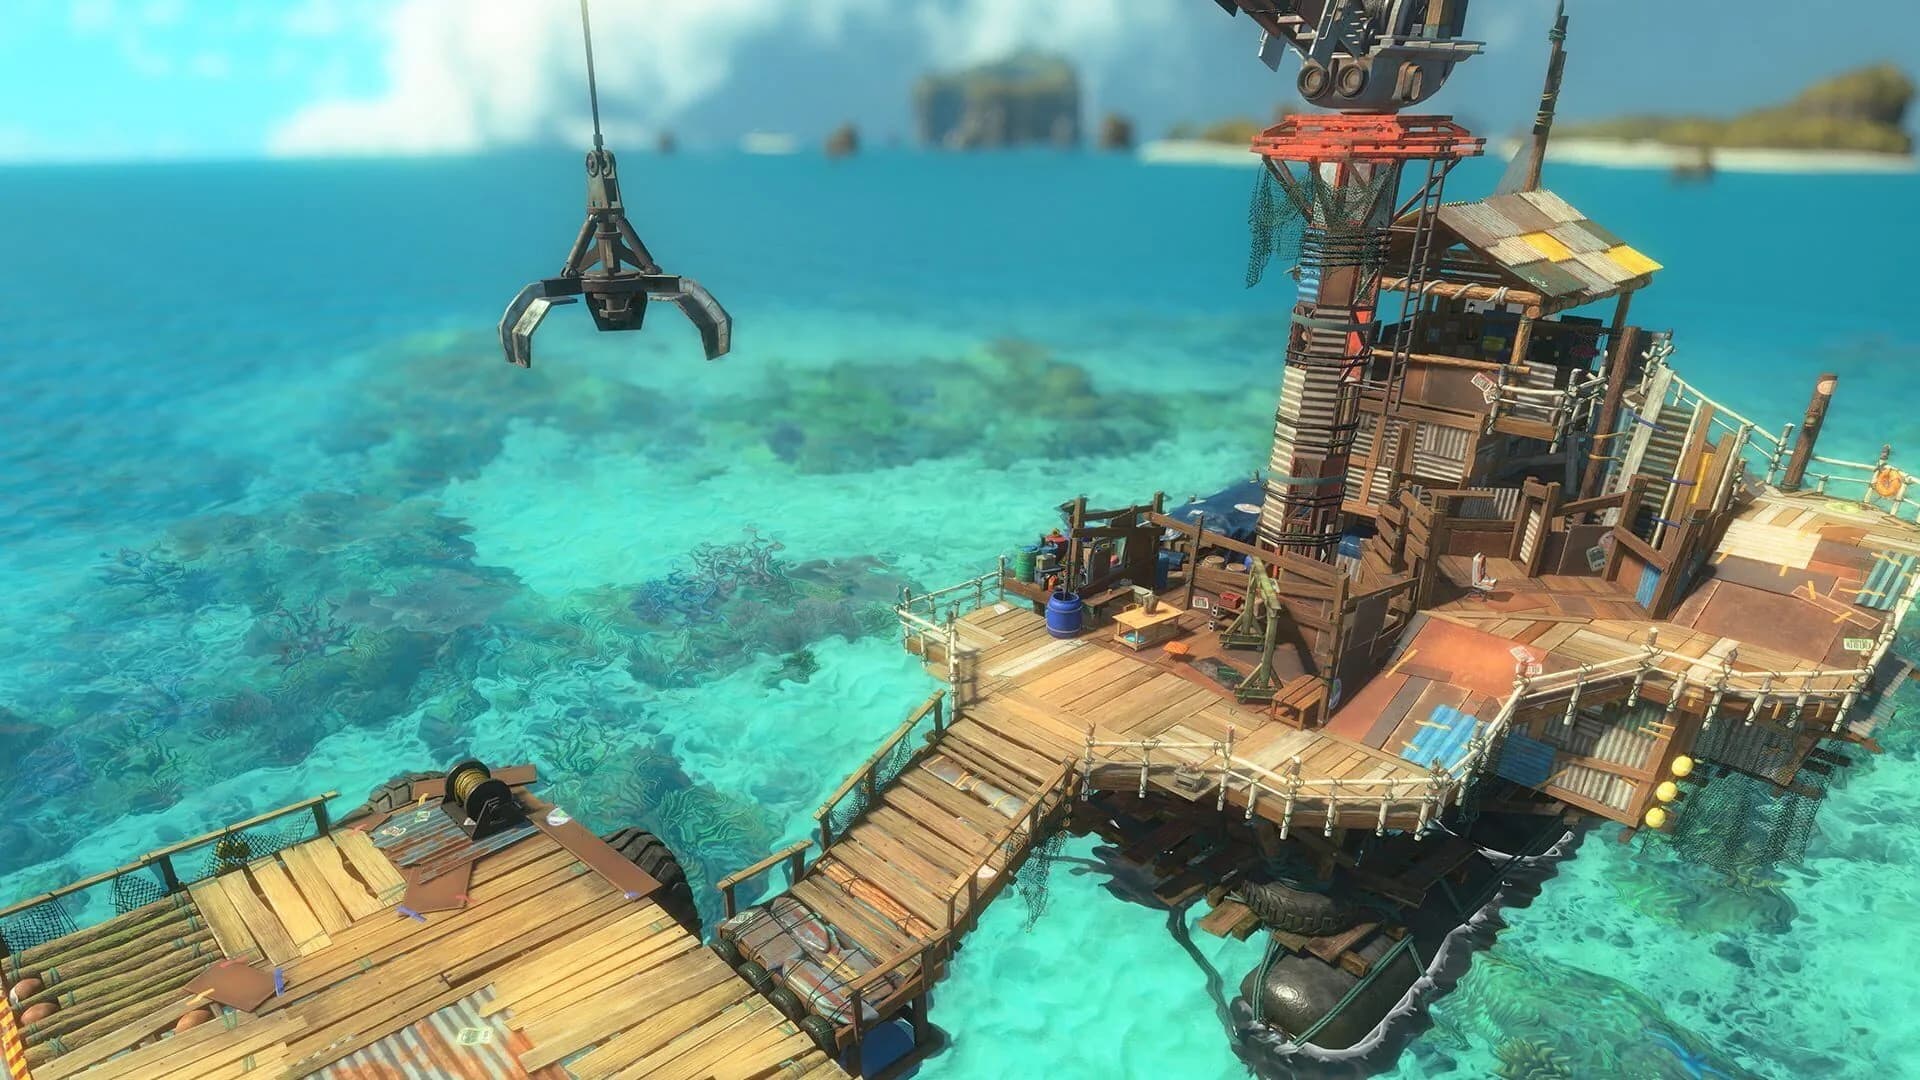
First of all, you have to grasp the rhythm of Splatoon Raiders, radically different from the mainline entries. The loop is that of the looter-shooter: you set out on a raid across a stage, you gather loot and resources, you face waves of enemies, then you return to the central hub to strengthen yourself, upgrade your gear and head back out to face tougher hordes. Everything revolves around that gradual ramp-up, and a few starting habits save precious time.
The first is to grab everything. In a stage, take the time to clear the area and gather every available resource: that's what lets you upgrade your gadgets, Tanks and weapons without struggling later. Use your exploration bot (X button near the crystals) to destroy Spirhalite Crystals and collect their shards. Second habit: experience accumulates whether the mission succeeds or fails, which allows farming to progress faster. A lost raid is never fully lost. Finally, if you can, co-op mode, unlocked after the tutorial, grants extra materials: enough to significantly speed up building your loadouts.
Here's the most important point to internalize, because it conditions your whole progression. Splatoon Raiders offers three difficulties: Tourist, Raider and Survivalist. The natural reflex would be to believe a higher difficulty offers better loot. That's false, and it's crucial: difficulty only changes combat strength, not the quality of the available loot. Starting on Tourist therefore doesn't lock you out of any high-quality loot.
Concretely, this means you can start calmly on a low difficulty to learn the mechanics, without fearing you'll miss the best rewards. Survivalist mode remains a real challenge, demanding and rewarding for whoever loves the grind, but it's conquered once you master your builds, not painfully from the start. Adapt the difficulty to your combat comfort, not to a fantasized loot hunt: the loot pool itself doesn't change.
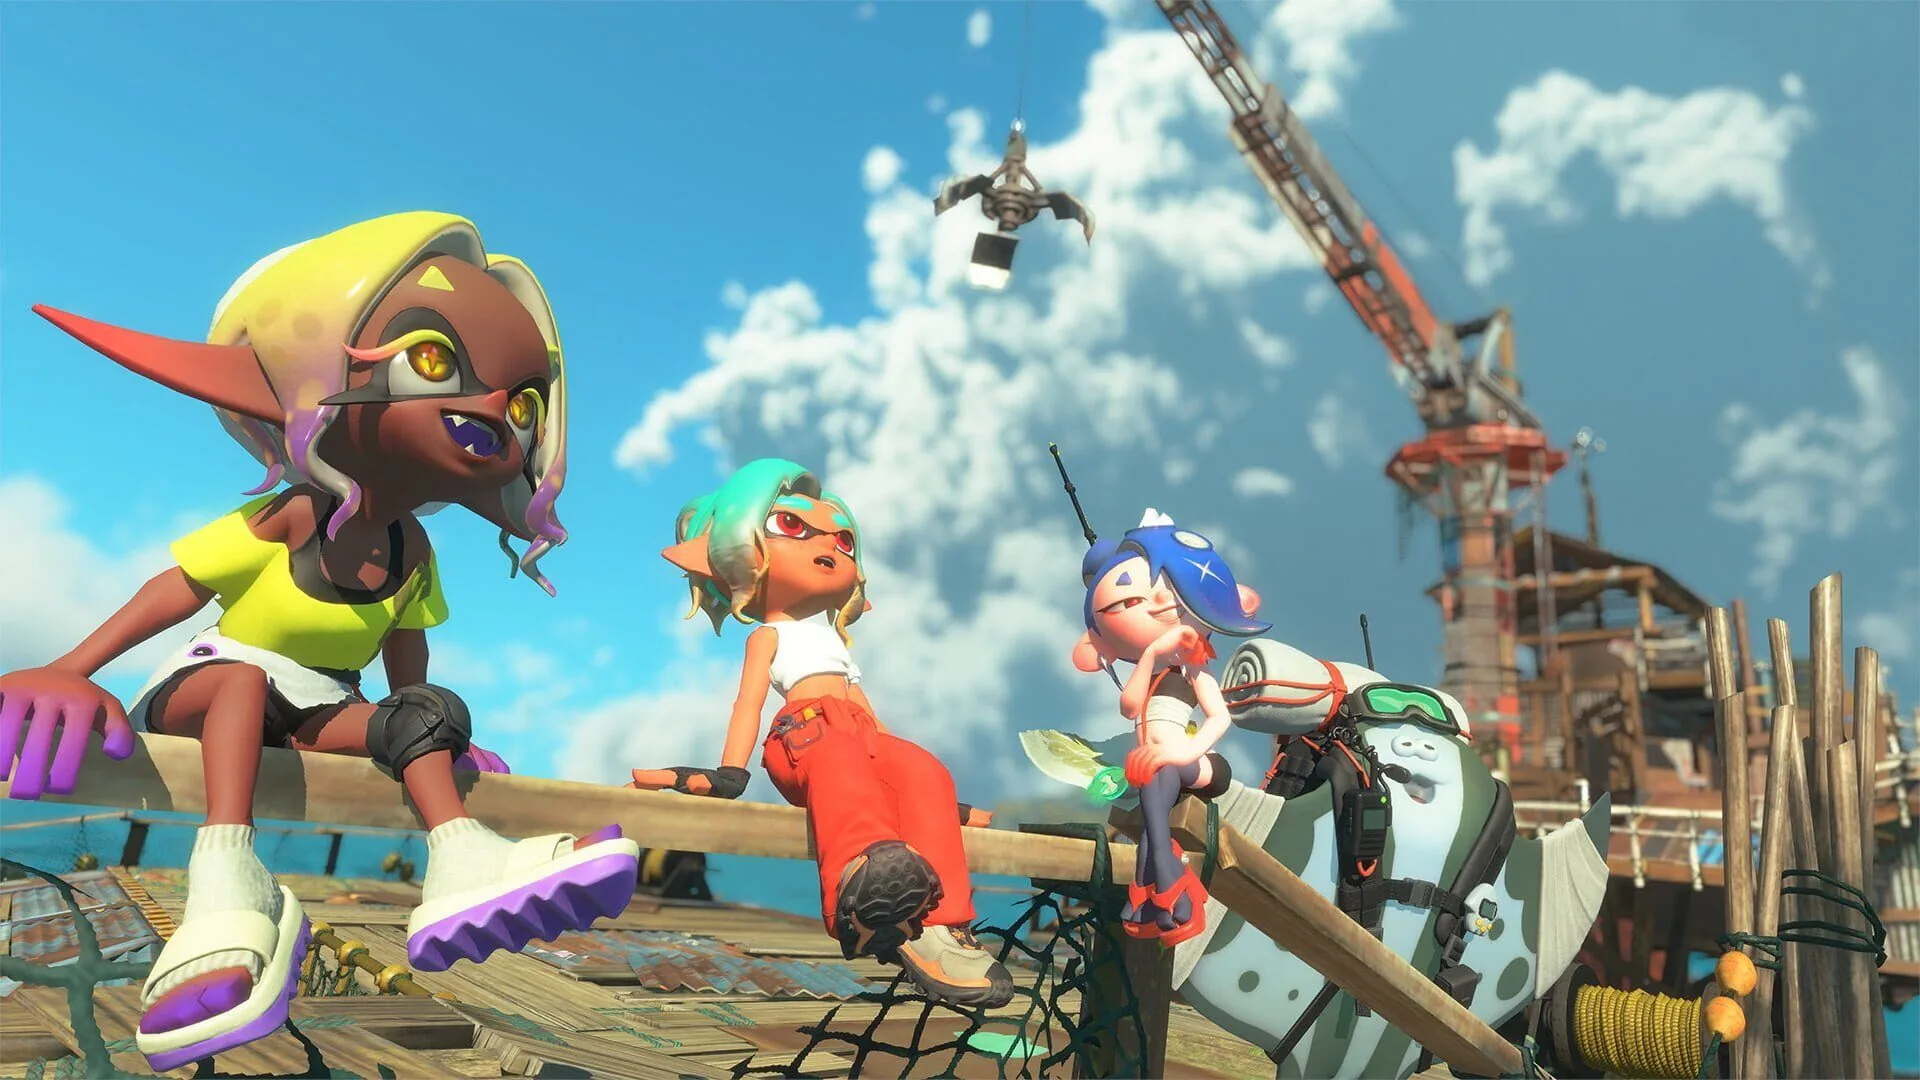
Splatoon Raiders' weapons split into families with distinct behaviors, and playing each correctly changes everything. Shooters and Dualies fire fast and shine up close or at mid-range: stay mobile, get into the fray, spray. Conversely, Sloshers and Chargers strike much more slowly: keep your distance, use cover and stay moving so you don't get overwhelmed during your reload times.
A crucial management tip: don't upgrade your favorite weapon too early. Wait until you've cleared the first dungeons, because you'll very soon pick up a higher-level version that renders any early investment moot. Save your upgrade resources for a weapon you really plan to keep, once the opening is behind you. Finally, don't hesitate to switch weapons, gadgets, Bot Buddy, Tank and relics regularly: each combination can turn the tide of a fight, and experimentation is the best way to find the style that suits you.
Splatoon Raiders' real customization system rests on four pillars that combine. The Tank first, in three styles: Speed for mobility, Power for direct close-range combat, and Tactical for ranged tools and battlefield control. There's no universal best Tank: the right choice depends mostly on the gadgets you prefer to use. Test all three in the Gear menu (+ button) before settling.
Gadgets form the second pillar, and their good use makes a huge difference. The best habit to build from the start: trigger your gadget immediately at the start of a fight, then hit it again the second it comes back from cooldown, and keep this loop going until every enemy is cleared. A sleeping gadget is a wasted gadget. Then come the relics, which bring decisive bonuses like reduced gadget cooldown or faster HP and ink recovery while submerged. Finally, the Bot Buddy accompanies your raids with its own ultimate ability, an offensive or utility support that rounds out your kit. These four elements articulate to form your combat identity.
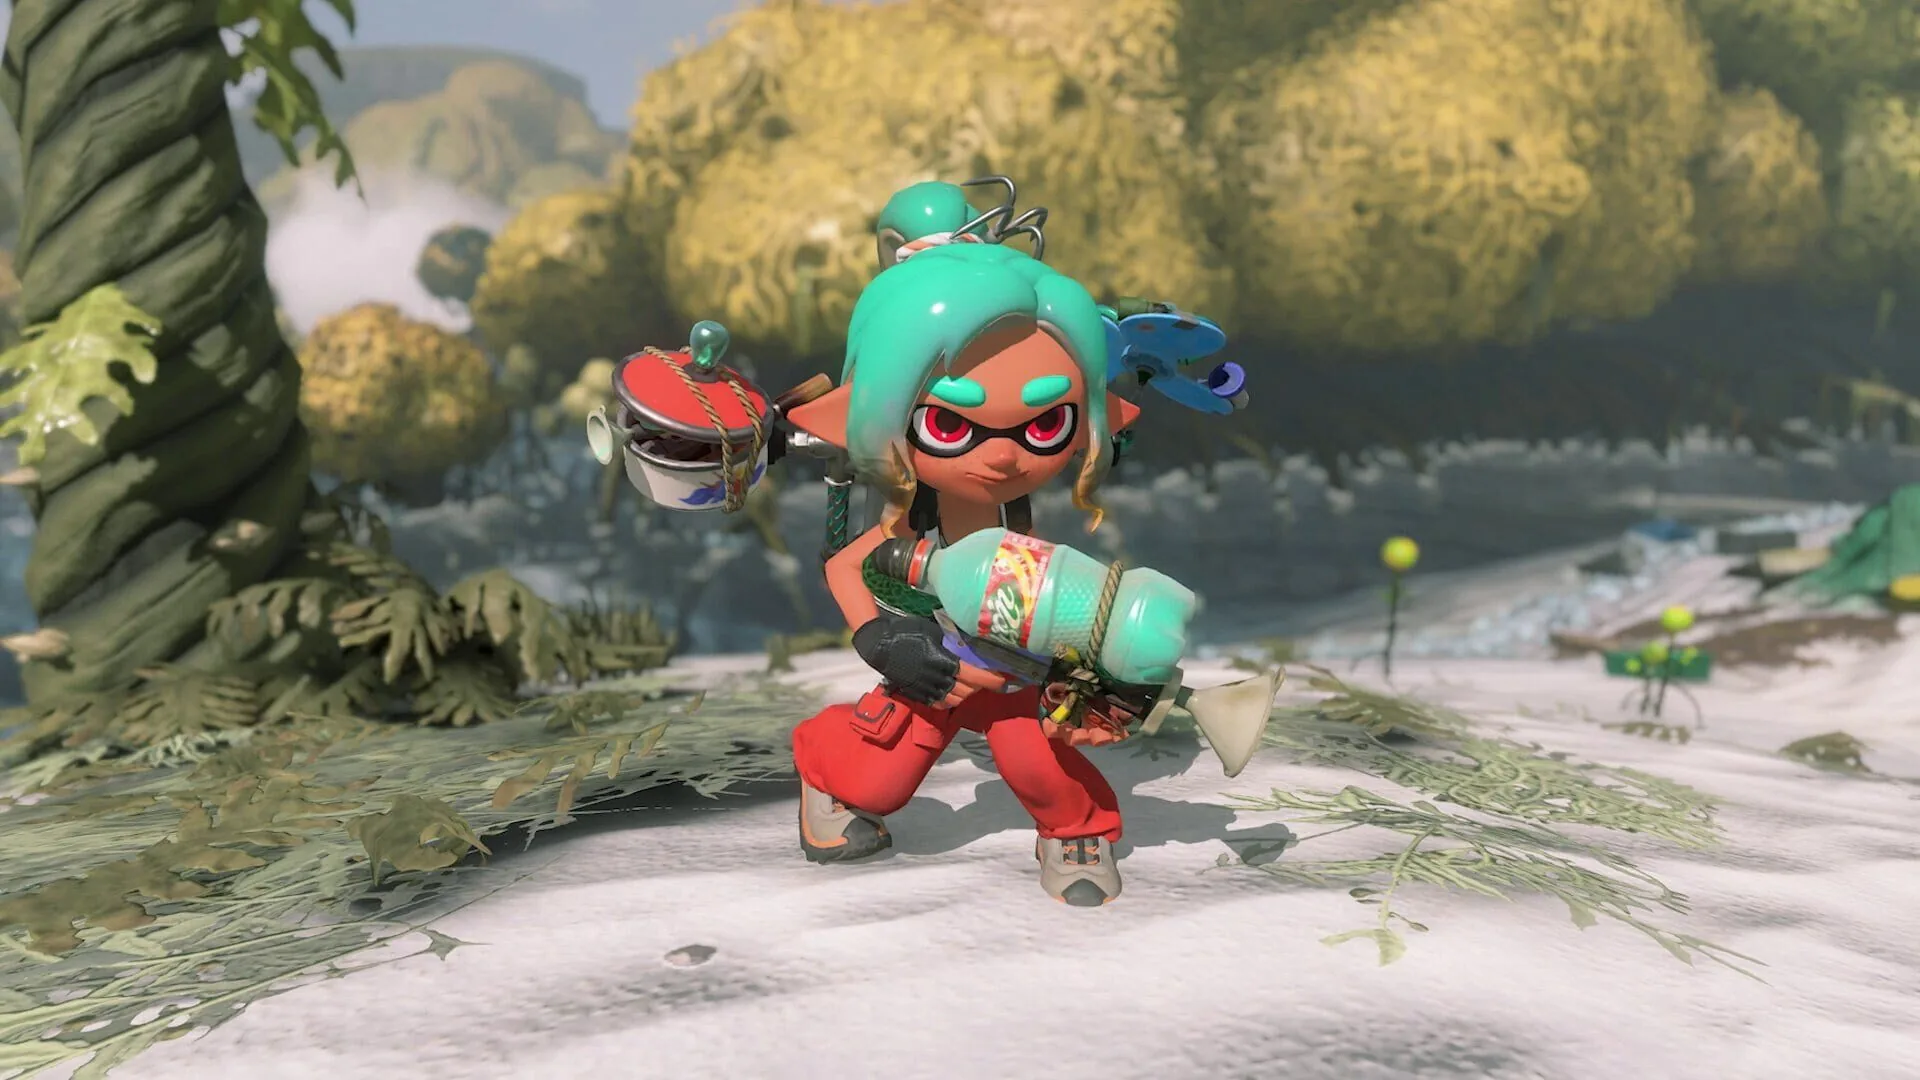
To set off on solid ground, here are three effective early-game builds, one per Tank style, all built around the Steam Blaster (level 10 and up), a versatile weapon excellent at clearing enemy waves thanks to its area damage.
Power Tank build (area damage). Weapon: Steam Blaster. Gadgets: Splatchet and Spinwheel, to slash through groups and cover the area with ink. Relics: Wind-Up Key and Ballroom Mask. Bot Buddy: Frye, whose Showstopper ultimate offers wide-range offensive support. A build geared toward brutal horde clearing, perfect for advancing fast.
Speed Tank build (hit-and-run). Weapon: Steam Blaster. Gadgets: Blast Boot and Dash Bomb. Relics: Miniature Scoop and Sea Bead, which reduce gadget cooldown and speed up HP and ink recovery while submerged. Bot Buddy: Frye. Designed for mobility and gadget efficiency, ideal if you love striking then breaking off.
Tactical Tank build (control). Weapon: Steam Blaster. Gadgets: Bombloons and Shot Pot, the first for wide-area damage, the second to control enemy movement. Relics: Sage's Bracer and Bamboo-Shoot Brooch. Bot Buddy: Frye. A crowd-control and positioning build, securing fights through defensive utility.
A few principles to progress smoothly. Adapt the difficulty to your comfort, not to loot, since the loot doesn't change. Grab everything in stages and farm without guilt, experience comes in even on failure. Don't over-invest in an early weapon, a better version arrives fast. Keep your gadget running continuously, that's the move that separates a laborious raid from a smooth one. And don't forget the extras: completing mission objectives unlocks better weapons, upgrades and cosmetic outfits, while Splatoon amiibo, scanned on the controller's NFC point, grant exclusive outfits. Keeping these habits, Splatoon Raiders' ramp-up becomes a pleasure rather than a puzzle, and Survivalist mode eventually falls in turn.
Guide written based on the Switch 2 version.
We help each other out on the InsertCoins Discord, so do come and ask.