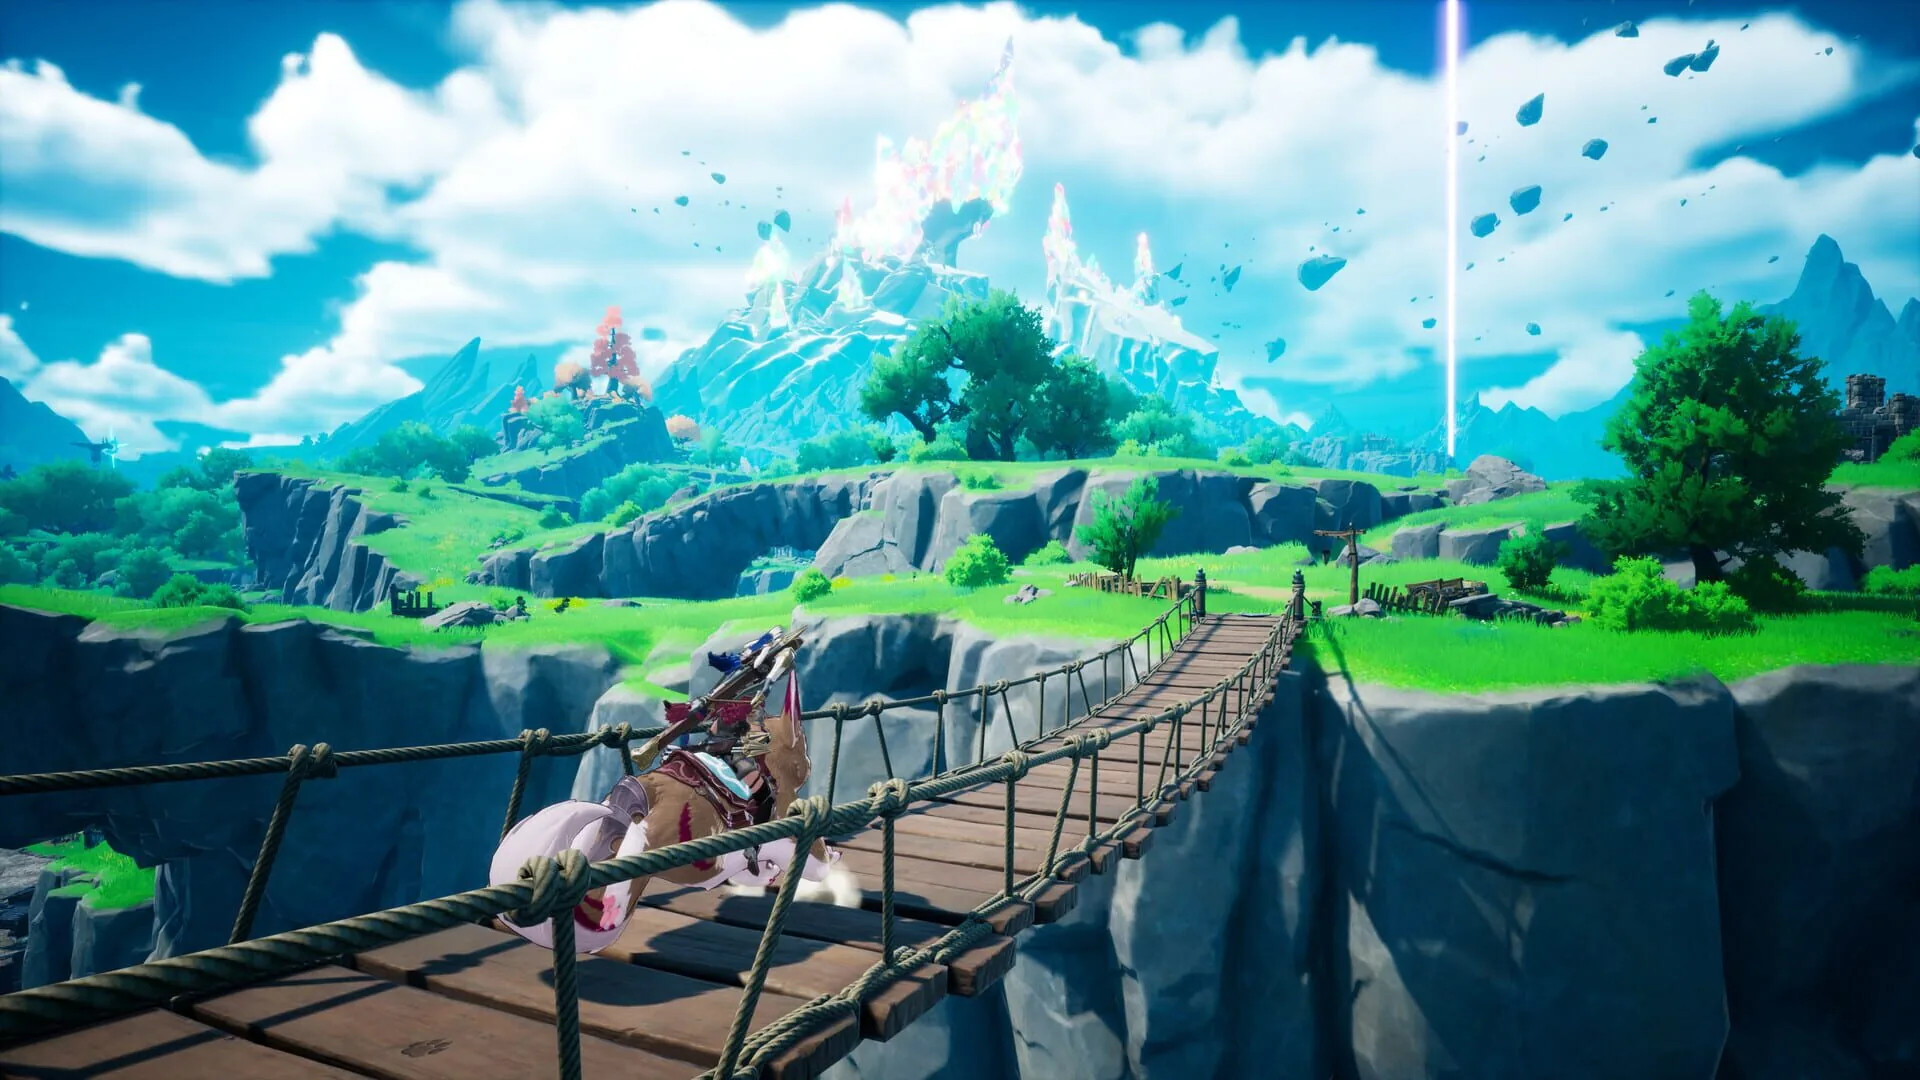
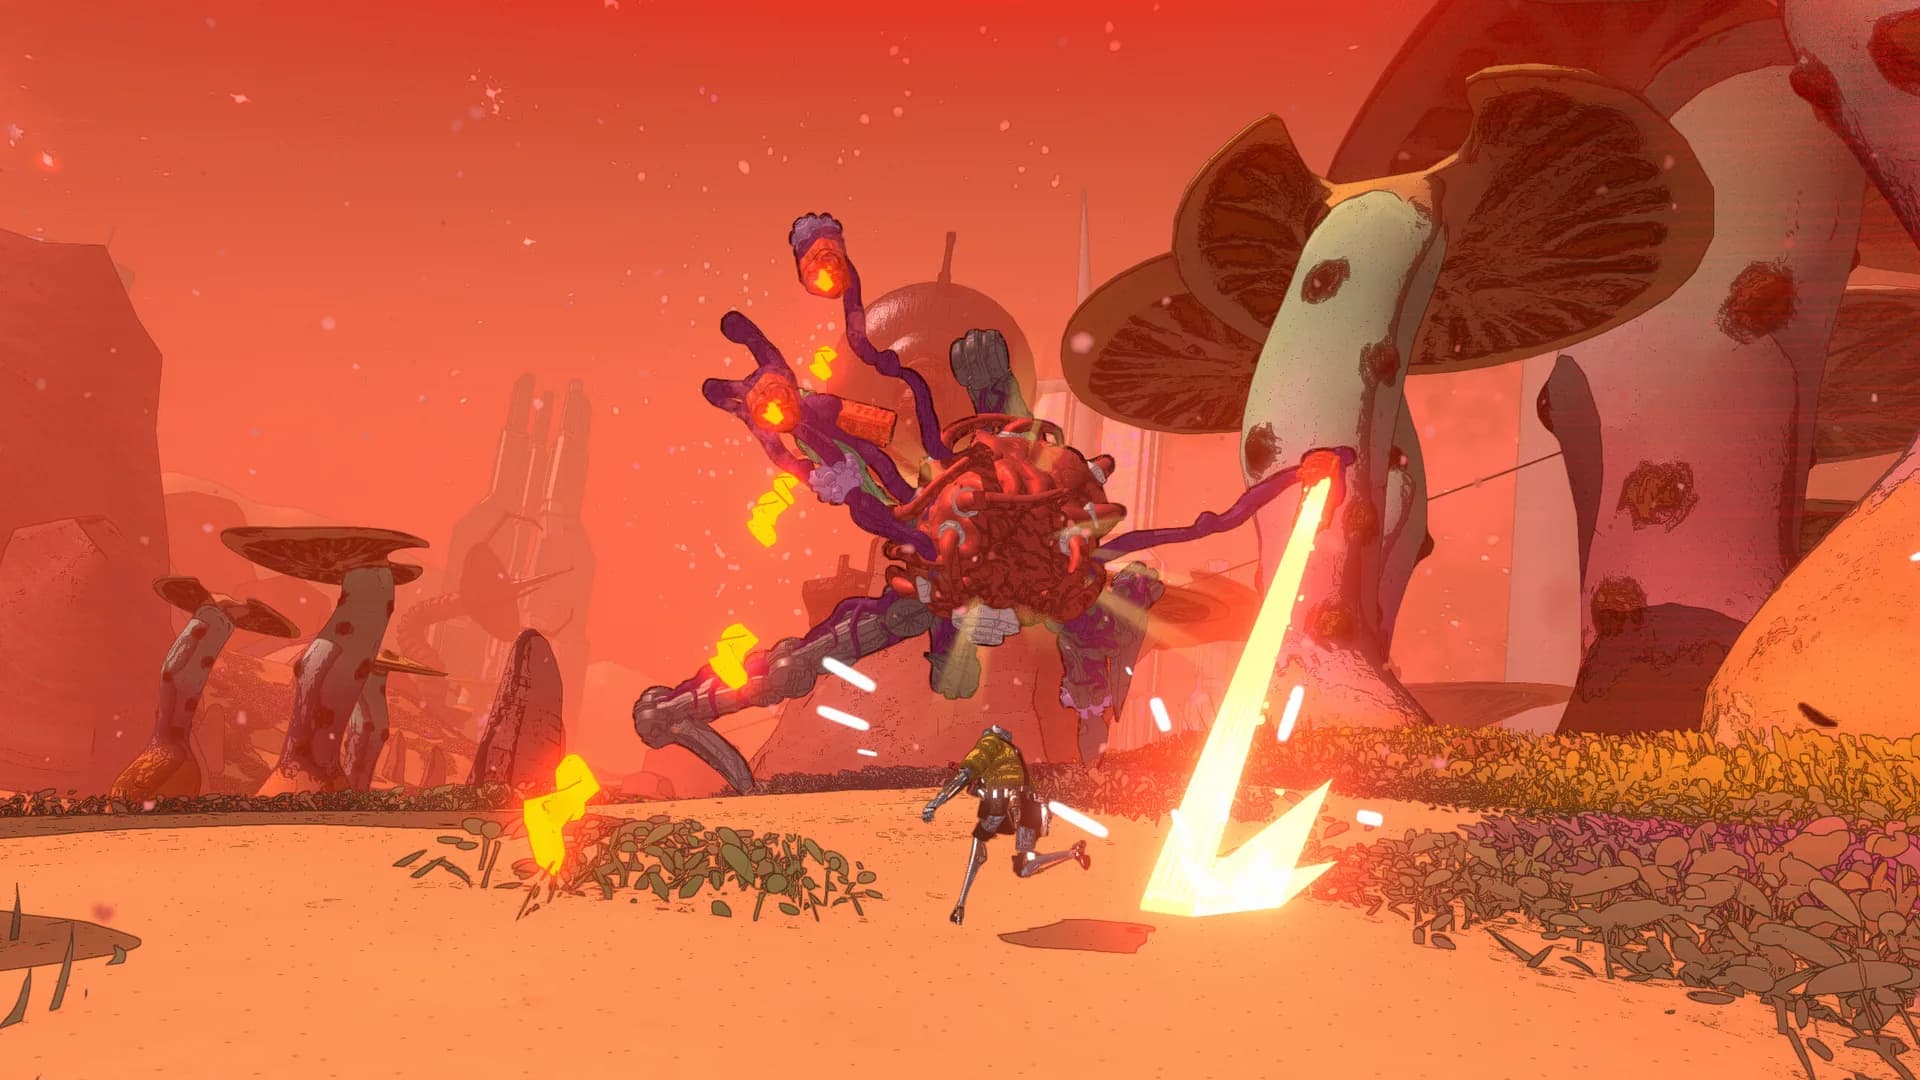
DragonSword Awakening hides, under its flood of visual effects, a combat system far deeper than it looks, entirely built around tag-team play, status ailments and poise breaking. With nineteen playable characters, drawn-out aerial combos and dense resource management, you can quickly feel overwhelmed. This complete guide dismantles the mechanics one by one, from character switching to gear builds by way of the tier list and recommended teams, to take you from button-mashing to real, mastered combo play.
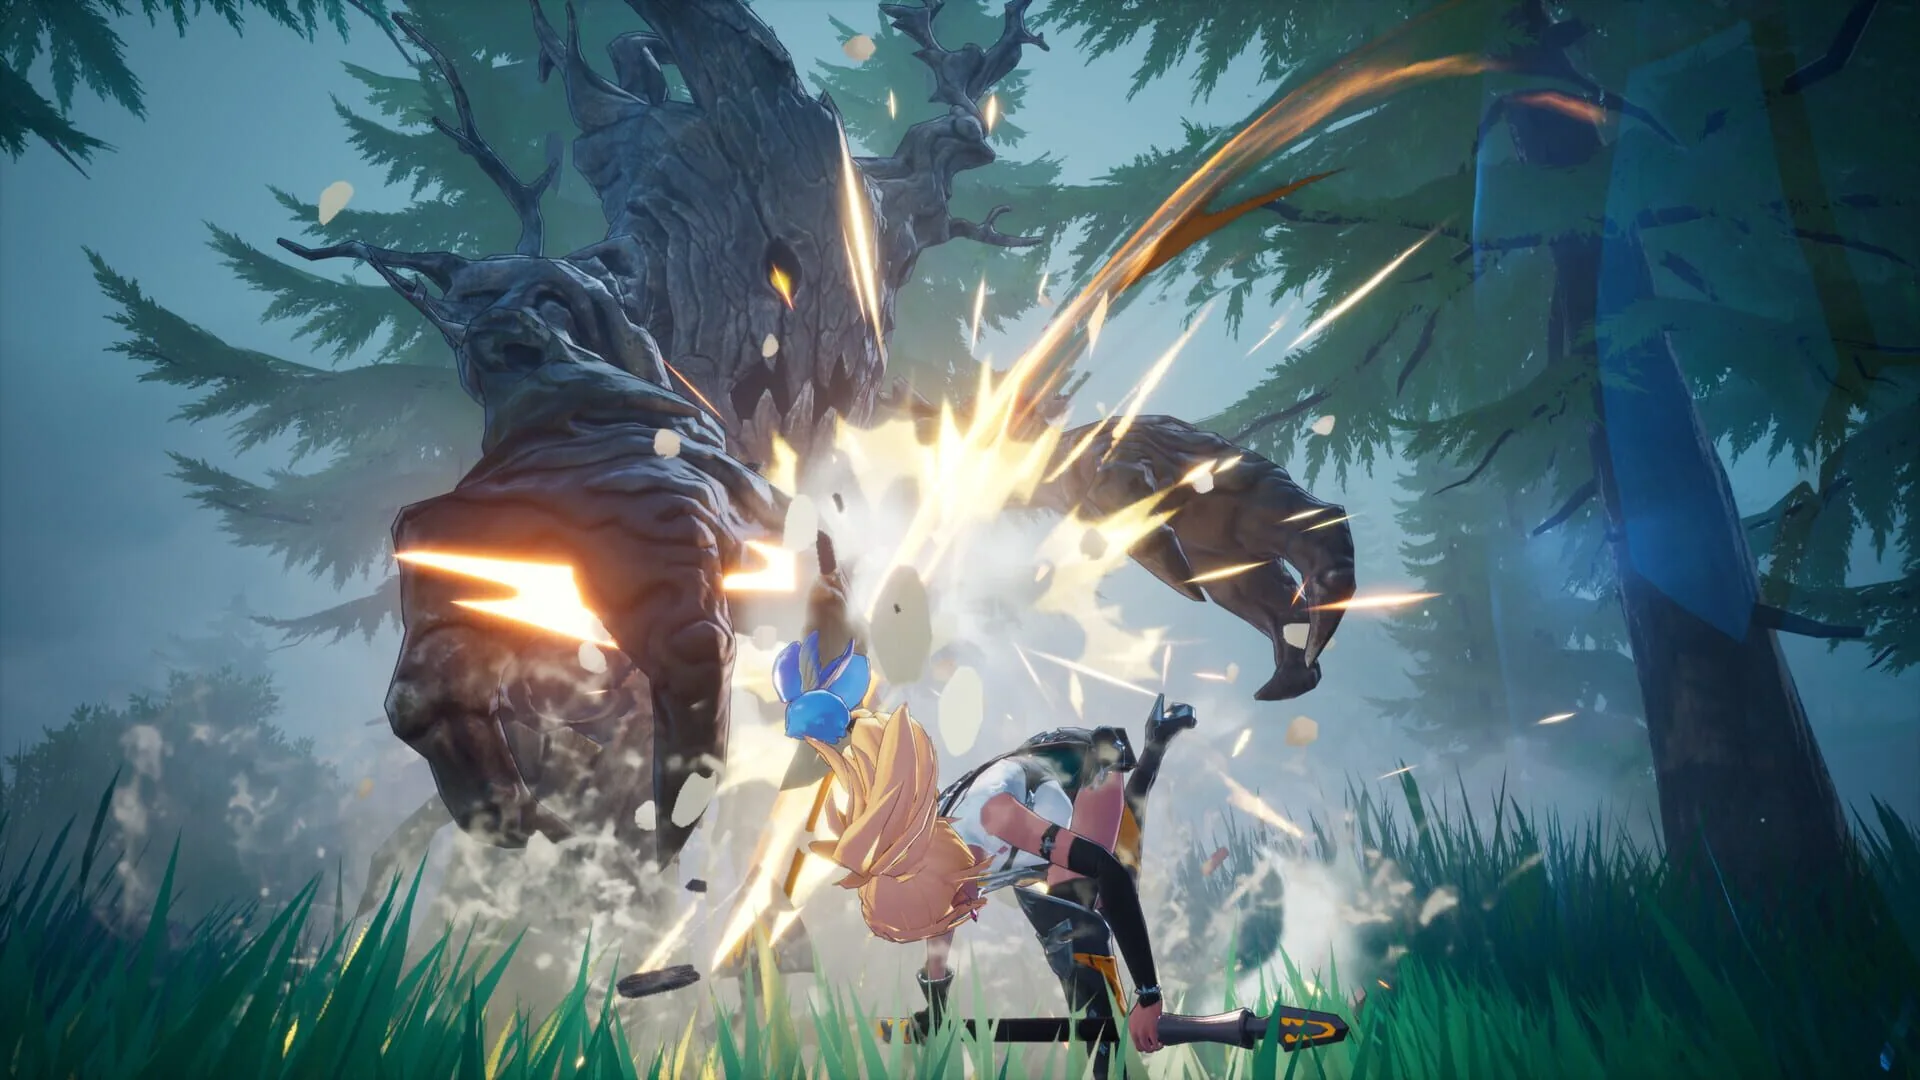
Before the spectacular combos, you have to master the foundation. Combat rests on three fundamentals: the basic attack, the jump attack and the dodge. It's simple on the surface, but the real mechanic plays out around poise. Each enemy shows a white poise bar under its health bar: empty it and the target staggers, opening an ideal window to chain. It's the pivot of the whole system, and knowing how to break poise at the right moment makes the difference between a laborious fight and a mastered one.
Once poise is broken, in come the launchers, those attacks marked with the blue wing icon that knock the enemy into the air and trigger the Airborne state. A foe launched into juggle can no longer defend and takes heightened damage, and the longer your aerial chain lasts, the longer it stays neutralized. The goal is clear: break poise, launch into the air, extend the juggle as long as possible. On large enemies, poise breaking also exposes a Grab prompt: mount the target to deal sustained damage while your grabbed character keeps attacking and you freely chain on the ground with another hero.
All of DragonSword Awakening revolves around character switching, and that's where the game reveals its depth. The golden rule: switch characters immediately during long animations, so both heroes attack almost simultaneously, which speeds up damage and status-ailment stacking. A good switch isn't fleeing, it's doubling your pressure. The ideal loop is to stack a status ailment with one hero's active skills, release it with a Signal Skill, then Signal Switch to the next hero to keep the combo running unbroken.
Switching also has a crucial defensive virtue: changing characters mid-combo grants invincibility frames, lasting until you land your down attack or trigger a Signal Skill. It's your best disguised dodge, to use strategically to phase through an enemy attack without breaking your chain. Signal Skills, precisely, trigger when certain conditions align, typically when one hero applies a status ailment just before another strikes: watch the enemies' white health bar, indicating stagger potential, to call in a teammate at the right moment.

The combo system rests on a handful of status ailments you have to know how to stack and chain. Here are the main ones:
- Airborne: launches the enemy into the air via the blue-wing launchers, renders them unable to defend and increases juggle damage. It's the key to long aerial chains.
- Bleed: deals damage over time while lowering defense thresholds, and stacks especially well during the Airborne state for devastating bursts.
- Stun: temporarily halts enemy attacks and opens immediate combo windows.
- Freeze: applied by frost characters, it enables freeze-focused combo chains.
- Shock: applied by holy abilities, it punishes downed (Knockdown) targets.
- Knockdown / Knockback: forces the enemy to the ground or pushes them back, breaking poise and setting up aerial chains or heavy strikes.
The art of combat lies in combining these states across characters: for instance freezing a target, breaking it, launching it into the air, then stacking bleed during the juggle. Each hero brings their own ailments, and it's their complementarity that makes a team powerful.
With nineteen heroes, knowing who to prioritize avoids wasting resources. Here are the safe bets that stand out, split into two tiers.
Tier 1 (strongly recommended). Castella, the Windrunner Lance, is the clearest Airborne applier and relaunches knockdown targets: a centerpiece. Roxy, the Crimson Striker, stacks bleed and shines in burst during the Airborne state. Renia, the Frost Alchemist, sets up Freeze via her Spirit Ice Mist. Alex, the Frontline Breaker, deals huge poise damage with the greatsword and applies Knockdown.
Tier 2 (solid picks). Ornette, the Magitech Frost Gunner, builds Freeze and extends aerial chains. Lute, the Fated Blade and protagonist, offers support, damage and healing, and triggers Freeze. Theresia, the Holy Sanctum Inquisitor, stacks Shock and punishes downed targets. Aria, the Sanctum Channeler, applies Shock and triggers Knockdown.
To start, several trios prove themselves: a demanding but devastating Action team with Charlotte, Johnny and Raina; a calmer, ranged team with Sice, Otellio and Dana; or the freeze-to-burst loop with Renia, Lute and Alex. Focus your resources on your core trio before investing in the others.
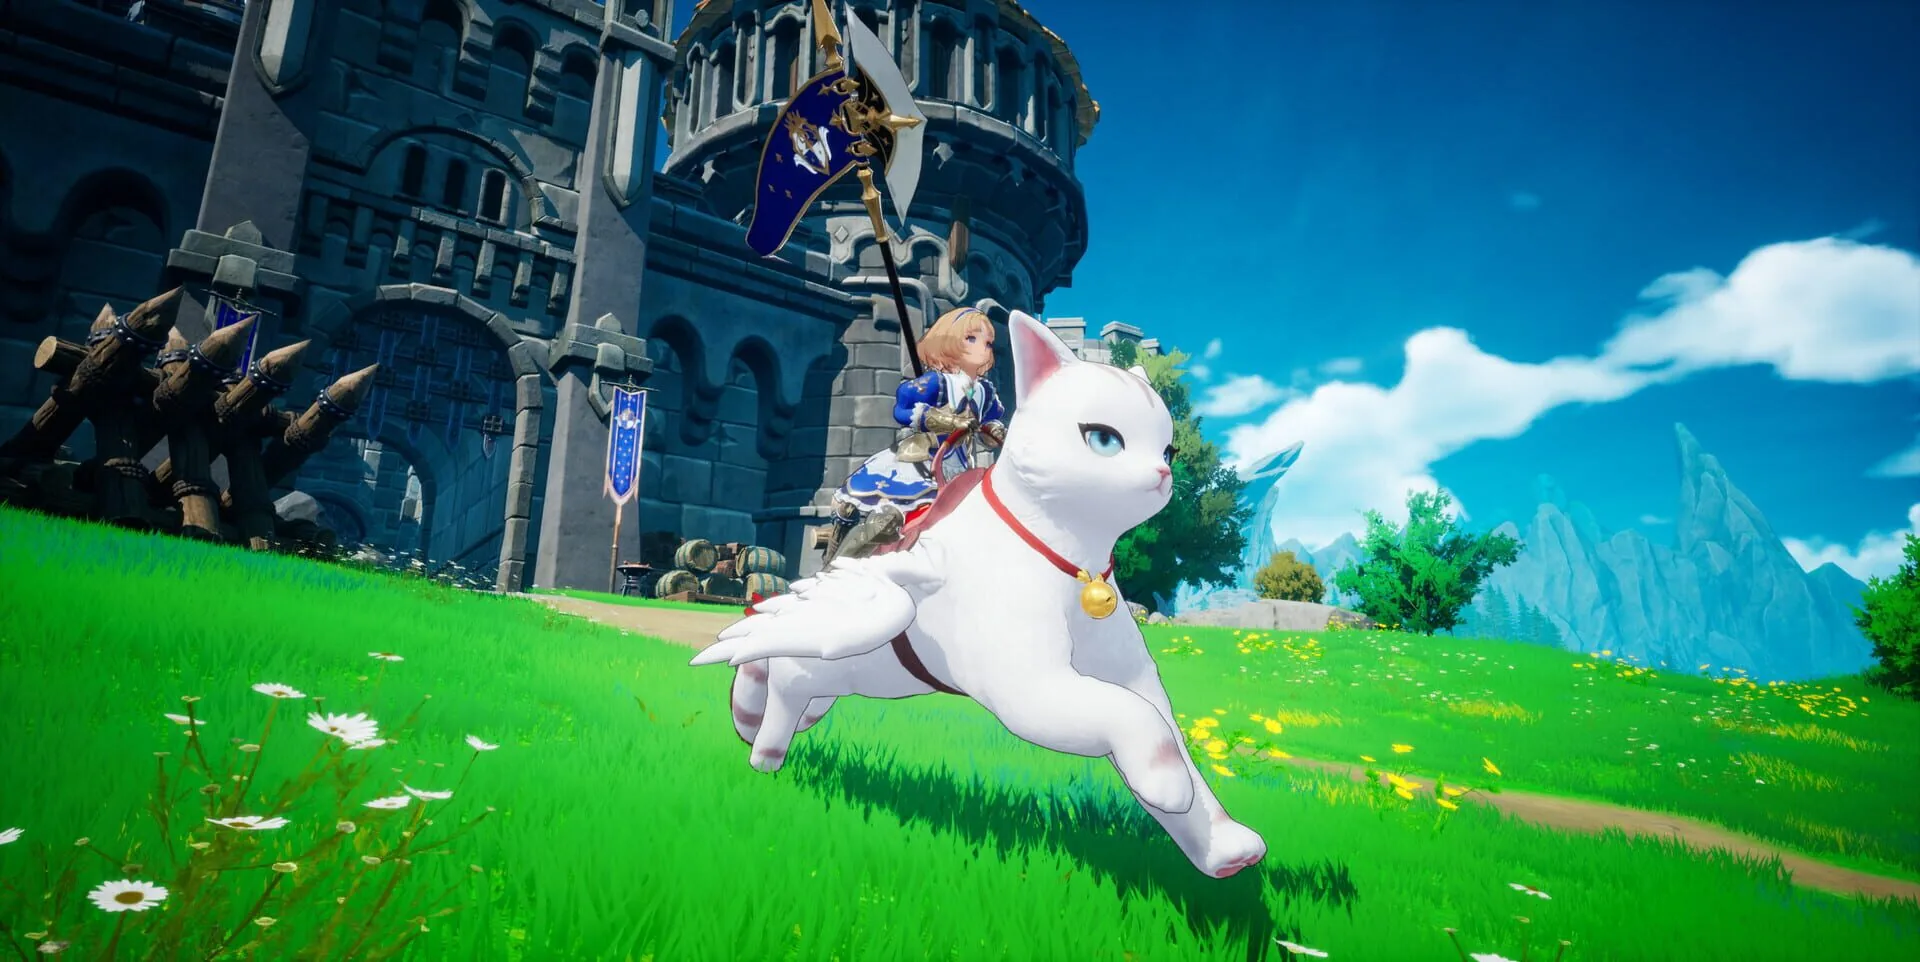
Beyond characters taken individually, it's team synergies that create power. Two compositions stand out particularly. The first, freeze-focused: Renia, Lute and Castella, with a loop of Freeze setup, then icebreaker, then aerial extension. The second, stagger-heavy: Castella, Alex and Roxy, with poise breaking through Knockdown, aerial juggles, then bleed burst.
The logic always stays the same: one hero applies a status ailment, another converts it into a break or a launch, a third extends and explodes the damage. Build your trios thinking of this chain, making sure to cover setup (freeze, poison, shock), breaking (knockdown, poise) and burst (bleed, aerial damage). A team balanced across these three roles chains combos that never let the enemy breathe.
The gear system holds a trap many overlook: set bonuses are obtained at three pieces, not five. That opens the door to mixed builds, like three venomous pieces plus two stun pieces, to specialize your damage by character. Don't try to complete a five-set at all costs, combine two effects at three and two pieces.
On stats, a few markers. Chest pieces offer the highest main-stat values: prioritize crit damage there. Legs are the second-best slot. When reforging, stack the sub-stats matching your character's element, for example airborne damage for an air-oriented hero. That coherence between build, element and role is what turns a decent character into a combo machine.
Last part, and not the least: resource management, where mistakes cost dearly. Forging Molds, fed with the Fragment of Sacred Light currency, are used to choose the main stats of endgame gear rather than gambling on random rolls: save them for that moment. Karma points, meanwhile, never waste: dismantle unwanted Karma to obtain exclusive points tradeable for any character's Karma. For gold, focus your early farming on Orbis City's bottom-left district, which efficiently clusters the material zones.
On progression, remember that Master Skills unlock at level 30 per character and require treasure maps, obtained by solving puzzles and hunting chests across Orbis. Use Fate's Invitation wisely to recruit, and complete your core trio before investing in Lute, whose support and healing shine mostly once your main characters are established. Keeping these priorities, the ramp-up becomes smooth, and DragonSword Awakening's flood of effects turns into a symphony of mastered combos.
Guide written based on the PC version.
We help each other out on the InsertCoins Discord, so do come and ask.