There are two schools of thought in Meccha Chameleon. Those who, like a hapless knight staring at a map of the realm, fix a blank wall hoping some miracle will turn them invisible. And those who win. The difference isn't luck, it's intimate knowledge of each map: knowing where to hide, what to imitate, which hue to adopt and from which angle a seeker will look for you. This complete guide breaks down the six official maps one by one, spot by spot, with the colors to copy, the poses to strike, the mistakes to avoid and the counters to know if you play the seeker. Enough to stop being the prey and become the scenery. For everything about painting, poses and general tactics, pair this with our complete Meccha Chameleon guide.
Before diving map by map, burn a method into your mind, because memorizing fixed spots isn't enough: props sometimes distribute differently from one match to the next, and a clever seeker learns your favorite hiding spots. Better, then, to know how to read any situation. Before settling, always assess five criteria. Light first: your hue must fit the exact lighting of the spot, not that of a similar wall three meters away. Material next: set your metallic and roughness sliders to imitate the surface's finish, matte against matte, glossy against glossy. The outline, that traitor: your human silhouette shows even with a perfect color, hence the importance of a pose that breaks it. Traffic finally: avoid the zones seekers cross on a loop, and parallax, that shift that betrays a floating or misaligned object when the seeker moves.
The right routine flows from that grid, and it's unchanging whatever the map. Choose the location first, never the paint first. Then copy the base color with the eyedropper, on the exact surface you'll blend into. Add the shadow and light nuances with the HSV sliders to match the local relief. Adopt a pose that turns your body into scenery, then freeze before the seekers enter, because movement betrays you faster than any hue error. Keep this grid in mind: each map section below is just an application of these principles to a particular setting.
The Mansion is the beginner's map, the game's most generous with a dozen viable hiding spots, and for once that's not an insult: this is where you learn without ending the round in ten seconds. Its tall ceilings, readable props and famous library row make it an ideal learning ground, rich in objects to imitate.
Your best hiding spots on this map:
- Kitchen shelves: imitate a stack of plates or a row of spice bottles. The object density naturally breaks your outline, provided you match the shelf's average tone.
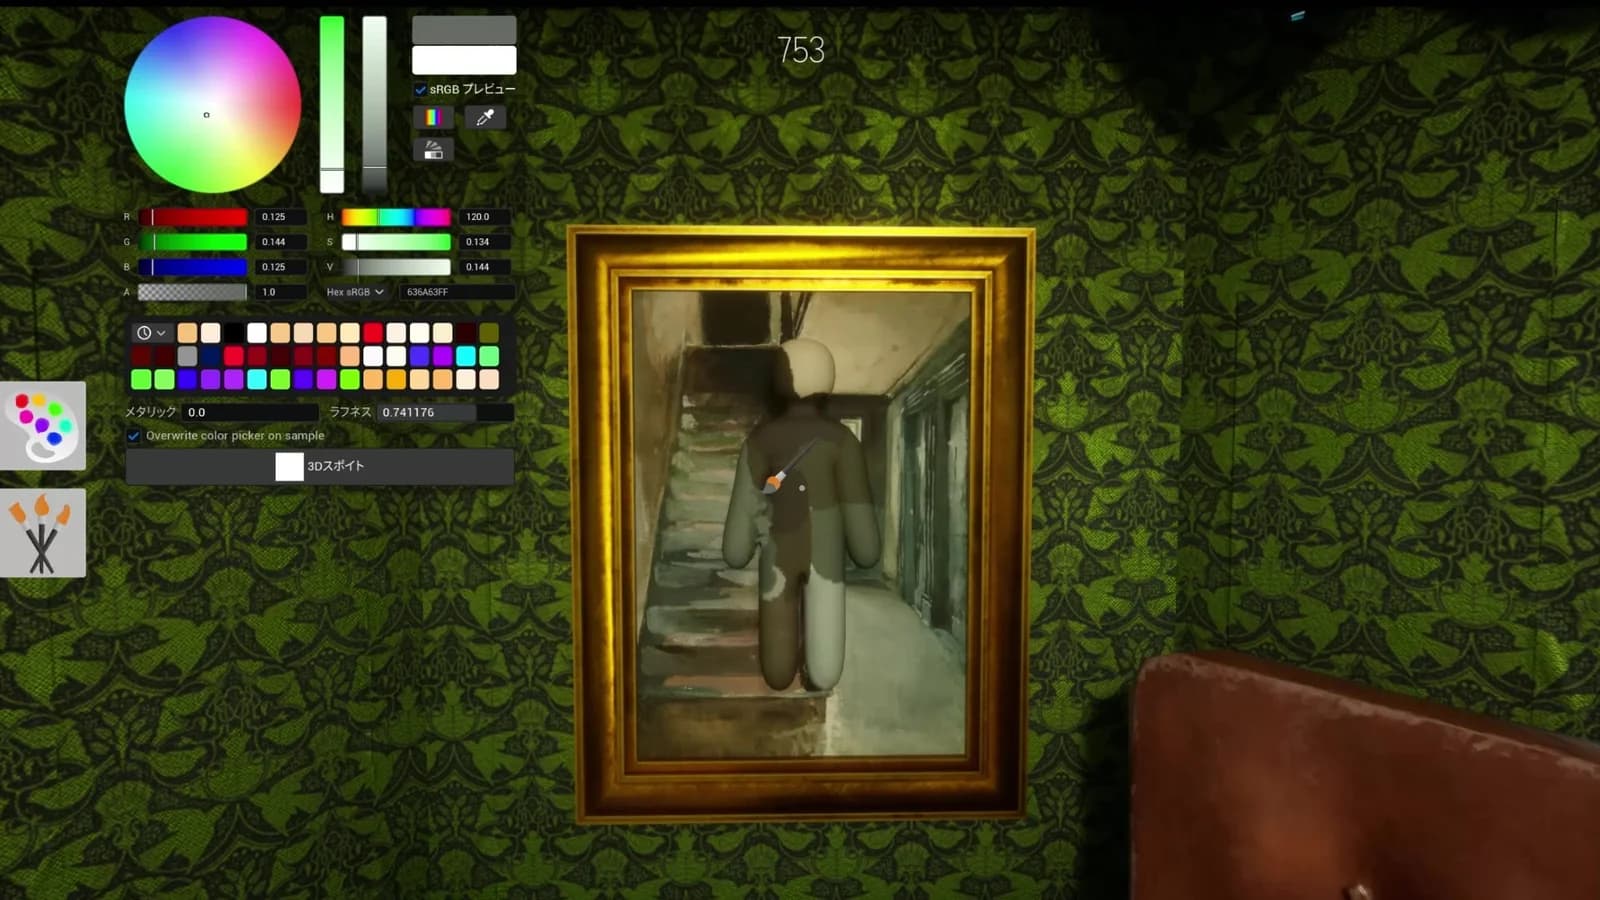
- Wall decorations and paintings: stick to the wall mimicking a hung frame, a classic but fearsome pose when the color is right.
- Furniture corners: the inside of a bookshelf, the shadow of a grandfather clock, those nooks where a folded silhouette vanishes into the tangle.
- Dark room edges and alcoves: lower the Value slider to match the ambient shadow and melt into the gloom.
Where not to hide: avoid the central hall, the front door and the pool table area, those open, high-traffic zones every seeker checks first. As a seeker, on this prop-rich map, rely on broken symmetry: one object too many on a tidy shelf, a slightly crooked frame, a pile that breathes. Methodically sweep the shelves and furniture nooks rather than the open center.
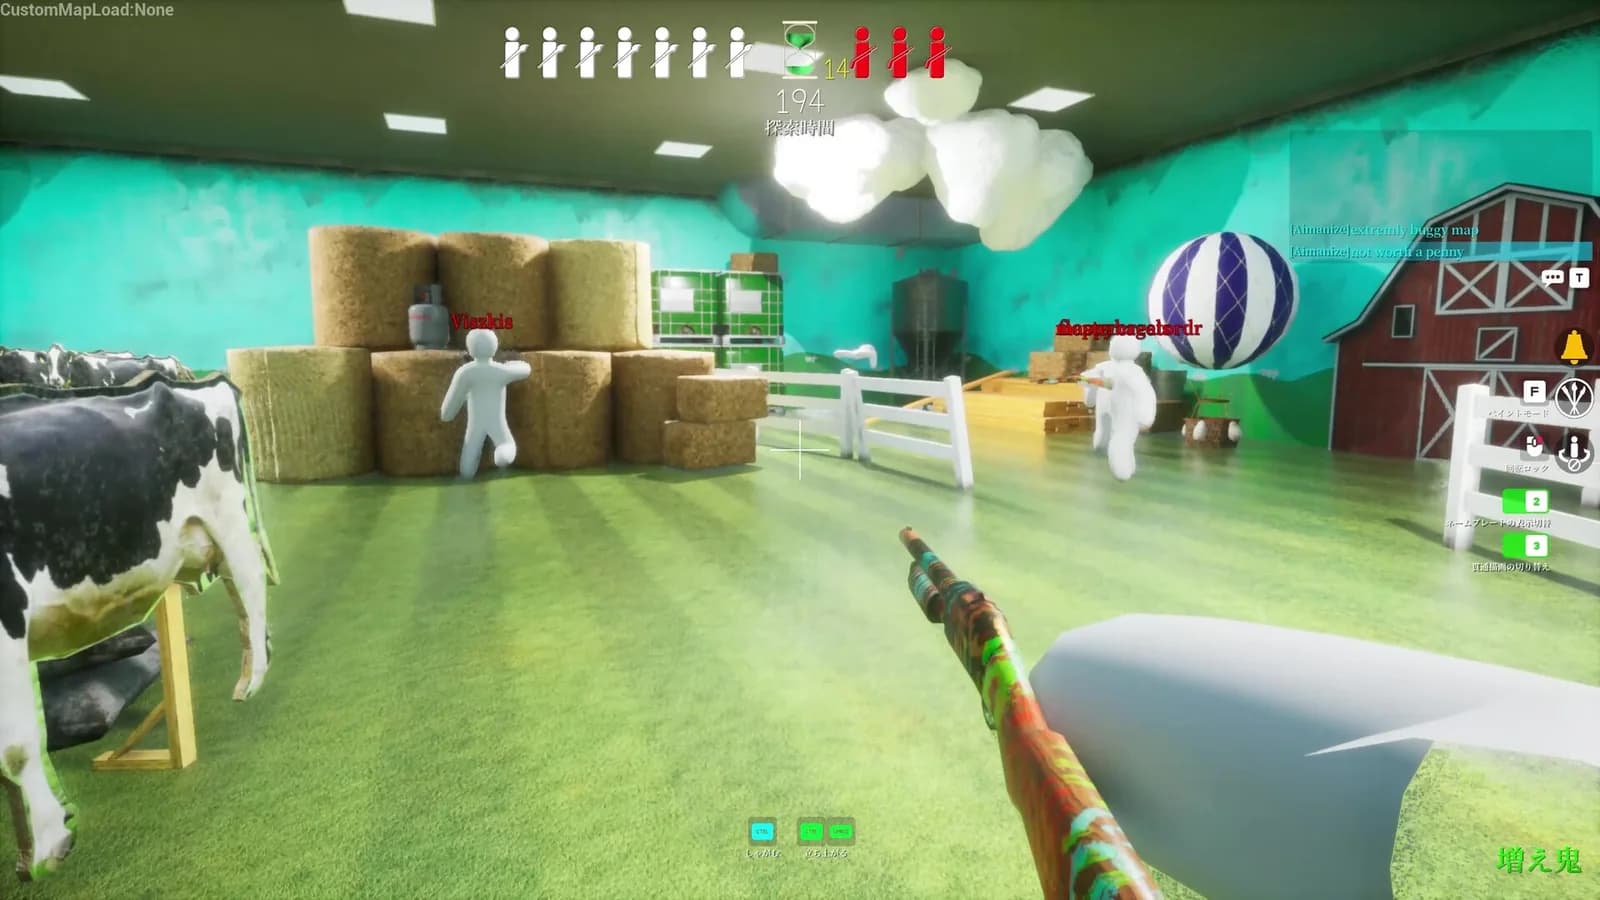
Indoor Country is the second most stocked map, with about six solid hiding spots, and the second good ground for beginners. Its farm theme, with its plywood props, hay bales, teal barn panels and full-size crops, looks like a whimsical rural film set riddled with possibilities. Its particularity is offering two distinct game planes: the ground, among the props, and the height, on the beams and rafters.
Your best hiding spots on this map:
- Stacked crates and wooden structures: the overlapping shapes mask your outline, imitate the pile's average tone.
- Hay bales: their irregular shape and busy color are ideal, but they demand a precise yellow-brown palette and a matte finish.
- High beams and rafters: few seekers think to look up on their first pass, making these bold and rewarding spots.
- Wood panels with visible grain: stick to them imitating the grain, aligning your paint with the wood's lines.
Where not to hide: flee isolated flat walls and obvious corners, with no props around to break the transition. As a seeker, this map plays on two levels, so never forget to scan the height: the beams and rafters are the clever hider's guilty pleasure. Look for grain breaks in the wood and hay bales with a slightly too-human shape.
The Sewer bumps up the difficulty a notch, with only five viable hiding spots and a dark industrial atmosphere of pipes, barrels and graffiti. But that darkness, which frightens the beginner, is actually your best ally: in the darkest sections, even imperfect paint becomes far harder to detect. It's the map that forgives hue mistakes, provided you choose the shadow.
Your best hiding spots on this map:
- Pipe edges and junctions, notably on the ceiling: the cylindrical shapes and groupings break the reading of your silhouette, and the height diverts the gaze.
- Dark corners and recesses: lower Value to the max and vanish into the gloom, the map's most forgiving spot.
- Repeated tile and grate patterns: the visual repetition tires the seeker's eye.
- Floor shadows and wet patches: zones where an outline dissolves into reflection and darkness.
Crucial tip: if your camouflage isn't perfect, head for the pipe ceiling spot rather than the graffiti walls, which demand far greater color accuracy to fool the eye. Where not to hide: open walkways, ladder areas and the rare well-lit zones, where the harsh light betrays the slightest mis-tuned reflection. As a seeker, light is your weapon: the Sewer is dark, so search the shadowy nooks first, where hiders take refuge, and beware the ceiling pipes.
The Backrooms is the map that wants you dead. Recognized as the hardest for new hiders, with only five viable spots, this monotonous yellow aesthetic offers few props and a visual uniformity that leaves few places to melt your silhouette into. You arrive full of hope, as before a simple quest, and you leave certain that nothing is ever simple. Here, precision and smart positioning trump everything.
Your best hiding spots on this map:
- Stacked chairs and desks: those overlapping-shape piles are about the only places your body can dissolve into a group.
- The bike wall murals: paint yourself imitating the bike artwork. The trick works because bikes are a recognizable shape the seeker categorizes and moves past without scrutinizing.
- Exit signs, in a flat position against the wall, and fire extinguishers, which offer shapes expected in the setting.
- Wall-panel seams: hug a joint so the existing lines break your outline, and imitate the yellow wallpaper texture.
Where not to hide: central areas and high-traffic corridors, where your silhouette will stand out on the uniform yellow like armor in the sun. In the bare corridors, better a perfect pose imitating a wall-mounted element than a position in the open. As a seeker, the map's uniformity works in your favor: anything breaking the yellow monotony is suspect. Focus on the rare prop clusters, the vending rows and chair piles, because that's where your prey inevitably hides.
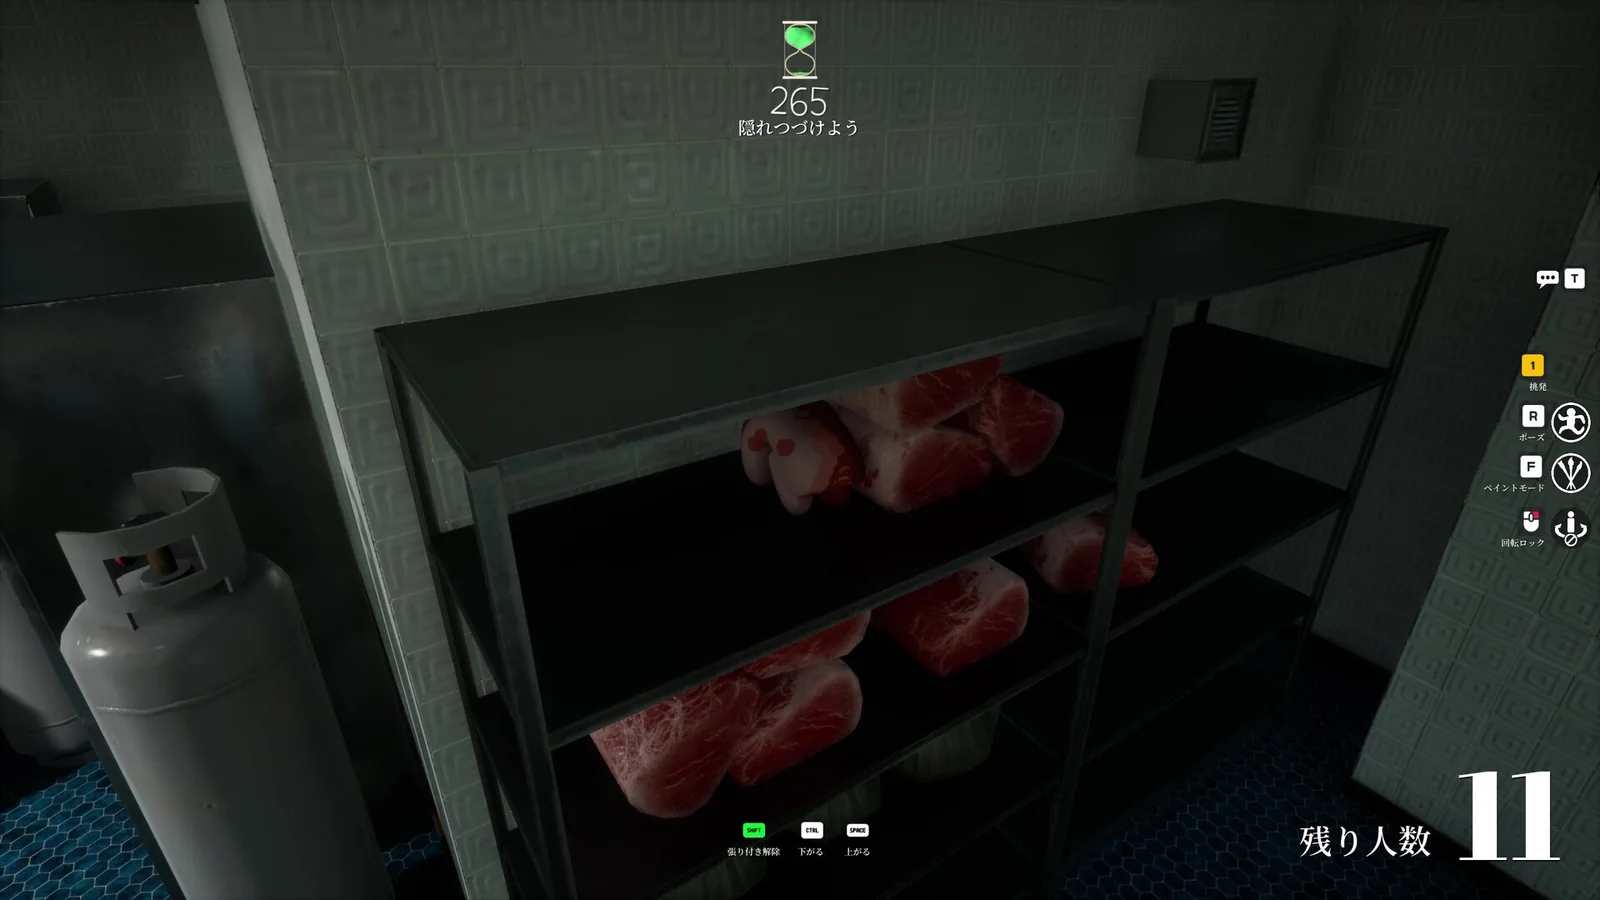
The Penguin Hotel, added in the 1.2.0 update, is a map made for flashes of disguise genius, with five solid spots. Its ice-hotel bedrooms, party balloons, penguin-themed props and lobby furniture form a busy, colorful setting, perfect for whoever loves imitating a precise themed object. Its great strength is its high spots: seekers often check the room at eye level first, which leaves the space above wide open.
Your best hiding spots on this map:
- Lobby potted plants: an organic, busy shape ideal for dissolving an outline, provided you match the green.
- Sofas and armchairs: slip into their shadow or imitate their mass, a living-room furniture classic.
- Display shelves and the reception: object-rich zones where one more prop goes unnoticed.
- Decorative objects like lamps, and the wallpaper and carpet patterns, which offer busy surfaces to imitate.
Use the map's humor as camouflage: in such a goofy setting, an absurd pose fits right in. Where not to hide: the center of the bedrooms at eye level, where the seeker's gaze instinctively goes. As a seeker, precisely, never forget to look up: on this map, the best prey hide high while you search the floor. Sweep the shelves, the tops of furniture and the high nooks.
Sugarland, the sixth official map added in the 1.4.0 update, rounds out the picture with its sweet, gaudy universe. It's the most recent map, still being discovered by the community, but its principle is clear and its colorful props make it a generous ground for camouflage. The busier an environment is in colors and shapes, the better your silhouette's chances of blending in, and Sugarland lacks neither.
The strategy there stays rigorously the same as everywhere else, applied to a candy setting: spot the colorful props, imitate their average tone rather than an isolated reflection, adopt a pose that turns your body into scenery, and stop moving. Favor object clusters and visually busy zones, where the map's visual noise becomes your cover, and avoid the large plain, open surfaces where a human outline stands out immediately. As a seeker, apply the universal grid: look for broken symmetry, texture breaks and objects whose shape doesn't quite fit the candy theme. As on every busy map, beware of anything that looks too perfectly arranged.
To sum up bluntly. If you're a beginner, play the Mansion or Indoor Country: they're the richest maps in hiding spots and visual complexity, the ones that let you learn without humiliating you every round, and that teach you the fundamental reflex of imitating objects rather than walls. Penguin Hotel and Sugarland are a notch above but stay welcoming thanks to their busy, colorful sets, with the Penguin Hotel's high spots as a bonus to surprise seekers.
If you're after a challenge, the Sewer and the Backrooms are for you. The Sewer rewards whoever can exploit shadow and color-blocking, the Backrooms demand flawless precision and placement on their merciless yellow. These are the maps that separate the Sunday hiders from the true chameleons. Whatever the map, remember the principle running through this whole guide: don't try to disappear, try to look like something that belongs. The rest, like any grail, must be earned.
How many maps does Meccha Chameleon have?
Six official maps: Hide-and-Seek Mansion, Indoor Country, Sewer, Backrooms, Penguin Hotel (added in 1.2.0) and Sugarland (added in 1.4.0).
Which is the best map for beginners?
The Mansion, with its dozen hiding spots, and Indoor Country, which offer the most spots and the greatest visual richness to learn without getting spotted in ten seconds.
Which is the hardest map?
The Backrooms, whose uniform yellow aesthetic and lack of props leave very few places to melt your silhouette into. The Sewer follows, but its darkness is more forgiving of mistakes.
Where do you hide when there are almost no props?
Stick to the rare clusters (chairs, vending machines), imitate a recognizable shape like the bike murals, or take refuge in the deepest shadow, which masks even imperfect paint.
Should you memorize the hiding spots or improvise?
Both: knowing each map's best spots helps, but above all apply the universal grid (light, material, outline, traffic, parallax), because seekers quickly learn your habits.
Guide written based on the PC version.
A question, a tip to share? The InsertCoins Discord is the place for it.